Games
Path of Exile 2: Legacy of the Vaal Walkthrough

Legacy of The Vaal is the third chapter’s main questline in Path Of Exile 2, and it can be quite time-consuming and difficult to figure out if players don’t know where to go. Act 3 is huge, with dozens of secondary objectives to complete, and tons of bosses to kill.
Related
Path Of Exile 2: Ascent To Power Walkthrough
Table of Contents
Ascent to Power can be a complicated questline in Path of Exile 2. Here’s everything there is to know to complete this rewarding quest.
With that in mind, traveling across the jungle and facing countless enemies will not be an easy task, so this guide will help players get their bearings around the harsh Act 3, and give them useful advice on how to beat the main bosses.
How To Start Legacy Of The Vaal In Path Of Exile 2
In Path Of Exile 2, starting Legacy Of The Vaal will happen automatically once players travel to the Ziggurat Encampment, accessed after traversing the Sandswept Marsh. Upon arriving, speak to Alva, Oswald, and The Hooded One. They will give players the directions they need to follow next.
Now, players will need to explore the Jungle Ruins, which are infected with undead adventurers, cannibals, rabid monkeys (and Quadrillas, a meaner badder version of Gorillas but with four arms), and other nasty beasts.
Look For The Entrance Of The Infested Barrens
Next, players need to sweep around the Jungle Ruins map until they find the Infested Barrens, a task that won’t be easy with so many beasts lurking around ready to turn them into their dinner. Pay special attention to the surroundings, and never lose sight of the objective.
Related
Path Of Exile 2: Every Act 2 Boss, Ranked
Act 2 in Path of Exile 2 offers plenty of exciting boss fights, but some are more memorable and well-designed than others.
Upon entering the Infested Barrens, players need to access the Canal Mechanism, which will drain the waters surrounding the Ziggurat Encampment so they can follow up with the quest. But first, they will need an Energy Core to power it up. So, next step is in the Chimeral Wetlands, which are accessed from the northernmost part of the Infested Barrens.
Chimeral Wetlands & Jiquani’s Machinarium
This new area is characterized by its many enemies swarming in from the river, especially River Drakes and Chimerals, which seem to be absolutely hellbent on surrounding players and pinning them down against any surface. Avoid walking near the borders of the map to prevent being cornered.
Players need to find Jiquani’s Machinarium, an old reservoir of Vaal technology if they want to find the proper battery for the Canal Mechanism. So travel northwest until finding an area with many columns and the ruin entrance. Get ready for a fight, because here comes the first boss.
How To Beat Xyclucian, the Chimera
This huge Winged Beast will spit elemental blasts of energy, and players need to be careful not to receive too many elemental ailments, because otherwise Xyclucian will corner and kill them easily. Here’s a rundown of this boss’s abilities:
- Fire Breath: Fires a cone of fire causing Ignition and heavy damage.
- Ice Breath: Freezes the ground, slowing down anyone who steps on it. This is most likely followed up by Acid Spit, so watch out for that combo.
- Acid Spit: Spits a puddle of Poison that spreads in a circular
- Ground Slam: Jumps and causes a circular AoE that does Physical damage.
- Column Perching: At some point, the Chimaera will fly and perch itself on the columns surrounding the arena. Attacking the columns will destroy them and make the Boss fall and be stunned briefly. Take this chance to cause heavy damage to it.
Xyclucian is resistant to Fire, Cold, and Lightning, but it has no weaknesses whatsoever, so players need to consider this, especially those using Mercenary, Sorcerer, or Ranger who use those damage types more frequently.
Keep avoiding the elemental attacks and destroying the columns, and the Chimaera will fall. Keep in mind that this boss drops the Inscribed Ultimatum Quest Item, which players will need to complete The Trials Of Chaos quest. After it is defeated, enter Jiquani’s Maquinarium to proceed with the quest.
Once inside, talk to Alva to figure out the way to proceed. The players need to find Small Sould Cores to activate Stone Altars inside the Labyrinth and proceed further. The first one is close to the place where Alva spawns from the Portal, the others will be lying around the chambers of the labyrinth.
There are three different chambers, one is a treasure room. the other is the path forward into the next chamber called Jiquani’s Sanctum, and the third one hides a sub-boss that will be tremendously hard to beat: Blackjaw, The Remnant.
How To Beat Blackjaw, The Remnant
This Optional Boss lies hidden in one of the chambers that players can open using the Small Cores in Jiquani’s Machinarium. Once players enter this chamber, Blackjaw will awaken and try to kill them on the spot. It is a boss that is resilient to physical and fire damage, so players should use his main weakness in their favor: cold damage.
The boss has 2 phases: The first one has two instant kill moves so players should avoid them at any cost. The first is an upward slash that Blackjaw will use repeatedly when players are at mid-distance. The other is a Ground Slam that the Boss uses no matter the distance, but it is easily dodgeable if players keep rotating around it and forcing it to use its two other moves: Fire Breath, and Pushback, which is a skill that does little damage and players can circle around the boss to force him to spam it.
In the Second Phase, Blackjaw uses a sequence of combos combining several fire projectiles with Upward cleaves, as well as a crescent moon cleave that can also cause heavy (if not lethal) damage to the players. The third and most brutal is a combo of slam attacks that affect the ground and quickly change directions, so keep a close eye on his movements and dodge in the opposite direction to where Blackjaw is aiming to avoid being squashed.
Beating the boss will reward the players with its core, which permanently increases Fire Resistance by 10%, as well as a chance to receive lots of loot.
Enter Jiquani’s Sanctum
Once players unlock the path ahead, sorting out this mini puzzle by looking for Small Soul Cores, it is time to look for Medium Soul Cores, to unlock the Big Soul Core from the wall (yes, that’s more or less how it goes).
Now, players need to roam around this new labyrinth-like area and search for two Generator Engines, which are big circular areas located on opposite sides of the map. So if they find one, the other lies in the exact opposite direction.
Related
Path of Exile 2: How to Use FilterBlade
FilterBlade is hands down the best way to set up and customize loot filters in Path of Exile 2 on PC. Here is everything that entails.
Each Generator needs a Medium Soul Core, which is spotlighted in the mini-map with a Green Exclamation Sign, so finding them will not be an issue. Once players have activated both generators, it is time to backtrack to the entrance of Jiquani’s Sanctum and speak to Alva once more. Interact with the Big Soul Core and watch the cutscene, it is time to fight another boss.
How To Beat Zicoatl, Warden of the Core
Zicoatl has several annoying attacks and resistances to Physical, Cold, and Fire damage types. It is not an uber hard boss to beat, but could become trickier if players are using the squishier classes like Witch, Sorceress, and Ranger
- Laser Grid: The boss launches series of blasts that can be directed or spread across the walls attack, dodging it can be tricky, especially after he launches its triangle attack. Pay attention to when Zicoatl spreads its arms (snake heads), because it is about to use this attack.
- Laser Barrier: Zicoatl will launch an horizontal attack that sweeps unidirectionally, dodging it is not so hard.
- Slam Attack: If players get too close to the golem, it will use its snake head arms to strike at the ground and cause physical damage.
- Triangle Attack: A red triangular pattern appears on the floor. Stand at the point of the triangle where the floor is not marked by the AoE to avoid receiving damage.
- Laser Shot: A targeted laser attack that can be dodged without too many issues.
After beating the boss, pick up the Big Soul Core, travel back to the Ziggurat Camp, and talk to everyone with a Marker to make sure to trigger the next step: inserting the Soul Core in the Canal Mechanism. Then activate the canal mechanism and proceed to the next area to complete the next steps on The Legacy of The Vaal Quest.
Activating The Flood Mechanism
Players need to access the Matlan Waterways and clear their path by activating levers and clearing out the canals. Once they have gone through at least 7 mechanisms, they will open up a path forward and will have to beat several Elite enemies in order to reach the Flood Mechanism activation Lever.
Push the Lever to make the water levers around the Ziggurat Encampment drop, and proceed further to the next zone. Going back to the Ziggurat Encampment and talking to Alva will reveal that players still need to activate some sort of mechanism to access the Temple of Kopec.
The Drowned City And The Pinnacle Of Filth
Now that the water levels have dropped, a new area has been cleared, revealing the ancient Vaal city that surrounds the temple. So players need a certain key to access the Temple, and that key is in the hands of the undead queen of the Vaal.
The Queen of Filth lies at the Pinnacle of FIlth (figures), so players must fight through a myriad of horrors to reach the Pools of Depravity where the Queen waits. After that, it will be time to beat her down to get the Temple Door Idol quest item players need to move forward. In this part, there’s an alternative quest that involves gathering mushrooms, so keep an eye out for them.
Related
Path of Exile 2: How To Find More Citadels
In PoE 2, Citadels are endgame maps that house Bosses that spawn throughout the Atlas, and patches have made it easier to find Citadel locations.
Next, there’s a detailed guide on how to beat The Queen of Filth boss in Path of Exile 2.
How To Beat Queen of Filth
The Queen of Filth is resistant to Physical attack and has no weaknesses. That means the only viable choice is either Chaos, Elemental, or Poison damage. The best strategy to beat her is to keep a safe distance and avoid her many AoE attacks. An impact from her huge mallet can send players back to the checkpoint in an instant, so watch out for her rolling attack.
This is the move set for this complex boss, so players should take note of them before they start the fight:
- Rolling Attack/Mallet Strike: Queen of Filth has a basic combo that rolls over players, and then strikes with her mallet causing Physical damage in a small AoE. Players will be okay as long as they avoid this attack.
- Ground Slam: Upon approaching her, the Queen will slam the ground after saying ‘Flatten,’ so watch out for her voice cue for warnings and stay out of her way. To counter this, always attack from behind.
- Elemental AoE Trap: Avoid the circle-colored traps in the ground, as these explode in an elemental burst of damage (Electric, Fire, Ice) depending on its color.
- Caustic Swamp: the Queen releases a foul ichor of filth that stays in the ground for a while and causes caustic damage to players standing on it.
- Summon Minions: The Queen will yell something like ‘Protect me, my spawn,’ and a lot of enemies will swarm the arena. Deal with them fast, as any distraction or body collision they cause will mean a certain death.
- Explosive Spores: They sprout in an orange erratic line, and stepping on them will cause immediate caustic damage. Rolling over them can detonate the effect without causing damage to the player, so make sure to explode them this way as soon as possible to avoid stepping on them while avoiding the Queen’s attacks.
Now, once defeated, the queen will drop the Temple Door Idol, and players will have to pick it up and turn back to Kopec temple (right below the Ziggurat Encampment stairs) to open the door and proceed to the next zone.
Temple of Kopec
The next area will be quite tricky to traverse, as players need to ascend a spire-like structure that has a living sun in the middle. The sun will constantly cause burning damage, so players need to stay behind the shadow that structures project to protect themselves and advance until they reach the pinnacle.
Of course, swarming enemies will try to keep them from advancing, and the slightest mistake can end up in a horrifying death for players. So, watch out for enemies and the scorching sun, and keep moving forward until reaching the next level.
How To Beat Ketzuli, High Priest of the Sun
Ketzuli is one of the hardest bosses in Act 3 and specializes in causing Fire Damage. He is also resistant to Fire Damage, and vulnerable to Cold. The best way to defeat him is by using either Chaos, Physical, Poison, or Cold damage to chip away its health while also dodging its barrage of fire attacks.
Here’s a rundown of his abilities:
- Fire Storm: an attack with countless small fireballs that track the players down. Keep moving and dodging while it lasts, don’t stay static in one position because it means certain death.
- Teleportation Blast: Katzuli will teleport in between 3 to 5 times using an explosion AoE to damage the players. Keep moving to avoid.
- Molten Orbs: The boss summons spheres of magma that will tumble around and burn the player on the spot.
- Fire Barrage: Ketzuli launches several fireballs in every direction, which impact the floor and create a detonation AoE.
- Fire Laser: the boss fires a concentrated beam of Fire and tries to melt down the player. Every player hit will receive high elemental damage and be ignited, receiving damage over time for a certain duration. It also applies a debuff that increases the fire damage the player receives, so watch out for it. To dodge it, simply stay as close as possible to Ketzuli, and slightly move in the opposite direction he is moving the beam.
After punishing him for scorching the players’ clothes, it will be time for a cutscene, and players will witness how the power of Alva’s blood activates the mechanism to transport them above the pyramid, reaching the Ziggurat Encampment.
Now the portal to travel back in time and complete the Legacy of the Vaal quest will be open. Cross the portal to reach the city of Utzaal in the year -400 BC.
The City Of Utzaal
Moving forward will trigger a brief cutscene where Alva will try to reason with the Vaal, but to no avail. Players will need to fight their way through the streets of Utzaal to reach the pinnacle of the Pyramid and have an audience with their High Taumaturge, Doryani.
Related
Path of Exile 2: Grenade Mercenary Endgame Build Guide
This Path of Exile 2 endgame Mercenary build focuses on setups and payoffs with the class’ variety of synergistic Grenade abilities.
But, after ‘rampaging’ through their city, the Vaal are not happy at all, and Alva will be captured by them. It will be time to face one of the last bosses of Act 3: Viper Napuatzi.
How To Beat Viper Napuatzi
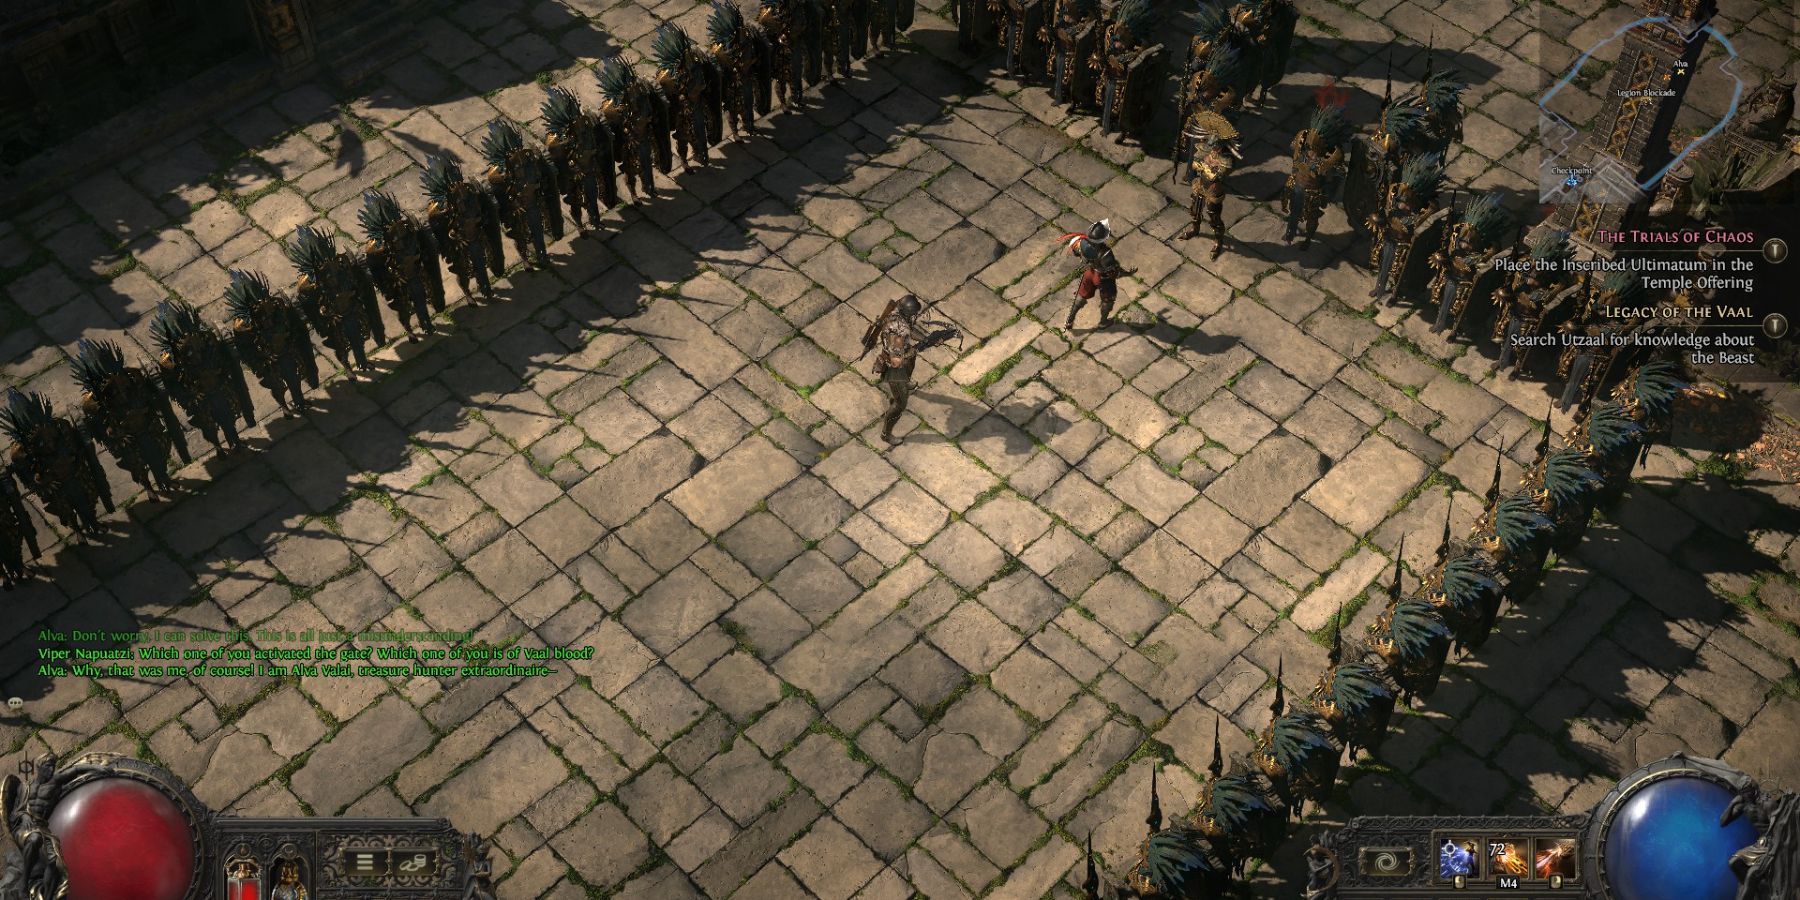
Another of Act 3’s hardest fights, in this sort of ritual duel, players will face Viper Napuatzi, the Vaal Chieftain that will prevent them from going further. As the players are surrounded by Vaal soldiers and the size of the arena is constantly reduced, it won’t be a fair fight. Players need to finish it fast, strike as hard as possible, causing Stun on Napuatzi and finishing her off before she corners them against her soldiers’ spears.
Here’s a rundown of the attacks Napuatzi uses during the fight:
Phase One:
During Phase one, Napuatzi will strike spear in hand, and will use lunge attacks that cause poison damage and leave a trail of poisonous AoE. Plus, the arena around will represent a constant threat to players.
- Spear Lunge: the boss uses a dash attack followed by a jab that initiates one of her several Spear Combos.
- Spear Combo: attacks repeatedly causing poison damage and a DoT effect on the target.
- Spear Throw (Electric/Poison): Napuatzi throws a poison spear that cannot be blocked or an electric spear that bounces off the shields of her soldiers and can strike twice if players do not dodge it.
- Dodge+Acid Pool: Napuatzi does a small back step or forward step, liberating a stream of poisonous grenades that leave an acid pool that causes caustic and poison damage.
- Spear Totem AoE: the boss will jump and stick her spear in the ground, causing a circular caustic damage AoE around it.
Soldier Spear Barrage: During phase one, Napuatzi soldiers will constantly attack in front of them, causing poison and chaos damage to the player. Spear attacks are preceded by a green shine on their shields. Watch for that warning, and dodge timely to prevent receiving near-lethal damage.
The ideal strategy is to keep dodging by staying near the shields. That way, it is easier to figure out how many soldiers will attack and in which direction players should dodge.
Related
Path of Exile 2: How to Get Tier 16+ Waystones
Tier 15 Waystones are the highest level Waystones players can get as drops in Path of Exile 2, but there are ways to reach higher tiers. Here’s how.
Phase Two:
Napuatzi will drop her spear and the fight will turn into a mid/range fight, with the arena enclosing even more. The soldiers will now attack in barrages and cover a bigger area, and players need to be extremely careful when Napuatzi yells: “Feel Arakali’s sting!” or “Arakali’s web!” as this warns the players of the upcoming Spear Barrage from the sides.
- Fire Meteors: Napuatzi summons fire that rains from above and detonates into a small circular Fire Damage AoE.
- Chaos Meteors: the boss summons chaos orbs that fall from above, detonating into a big circular AoE that causes Chaos Damage.
- Poison Slam: Napuatzi will slam the ground and liberate a poison nova in a circular AoE.
- Poison Tracking Orbs: the boss shoots dozens of tracking orbs that bounce on the soldier shields and backtrack the player’s last known location. Dodge to prevent receiving considerable damage.
- Poison Barrage: Napuatzi fires a cone-shaped attack with several orbs of poison that will cause a debuff with DoT.
The secret to win this phase is to keep moving and always paying attention to Napuatzi’s voice cues to prevent receiving the damage from the Spear Barrage, then, attacking with everything they have to stun her and clear out the remaining HP.
Defeating this boss will grant players access to the upper Aggorat, and then, they can chase down Alva and go for the next and last part of the Legacy of the Vaal quest.
Pursue Alva’s Captors Trough Utzal
The players’ next destination in the Legacy of the Vaal quest are the Black Chambers, which can be accessed after traversing the Aggorat region. Climbing the stairs and killing every Vaal that stands in their way will be the only way to progress through the enclosed ritual sites.
On the other hand, if players manage to get the Sacrificial Heart, they can search for the Sacrificial Dagger at an altar to complete the ritual and receive 2 Skill Points.
Proceed further past the ritual site to reach the entrance to the Black Chambers, it is time to traverse the final dungeon and complete the Legacy of the Vaal Quest.
The Black Chambers
The Black Chambers is a dark and dangerous place where Doryani’s amalgams between fresh and machine run rampant. Players need to be extremely careful and prepare elemental resistances since many of these monsters cause several ailments including burning, frost, and shock.
The bridges connecting the areas are hard to see, and players need to be observant since they will likely miss them otherwise. Upon approaching the borders connecting the two areas, the bridges pop up from the bottom of the pits. If players do not approach the borders they will miss them and won’t be able to proceed further.
Upon crossing the third bridge, players will arrive at Doryani’s Testing Grounds, and they will face the infamous Vaal Thaumaturge that has captured Alva. Once they beat this boss, the Legacy of the Vaal quest will enter its final stage.
How To Beat Doryani
Before finally completing Legacy of the Vaal and Act 3, players will have to face Doryani, the high Engineer and chieftain of the Vaal, in one last face-off which has 3 phases, and is the hardest boss encounter in Path of Exile 2.
Doryani is resistant to Fire and Lightning damage and can use attacks that cause Physical, Fire, Cold, and Lightning damage, as well as the Chill and Burning Ailments. Next, a rundown on his abilities:
Phase 1 – Doryani:
- Blast Attack: Doryani charges a laser and shoots a concentrated wave of energy forward. Dodge to avoid damage.
- Blast Mine: Doyani will occasionally deploy mines in the arena, which will detonate into a burst of red lightning.
- Lightning Attack: the boss channels lightning through his hands in a fan-shaped attack.
- Glide: Doryani has the ability to glide from one place of the arena to the other, repositioning as he launches his attacks.
- Fire Orbs: the boss will summon several orbs of fire energy that cause burning, covering most of the part of the arena.
- Summon Laser Machine: Pay attention to when the machine in the middle of the arena pops out of the floor, as it will start to spin and charge a laser shot. After a brief moment, it will cause lightning and fire damage to every target it hits. Time dodges perfectly to avoid unnecessary damage.
After causing severe damage to Doryani, he will teleport to the center of the arena and deploy his Crab Mecha, which has lots of new attacks. Now, the real fight begins. Doryani also recovers all his health during this process, which can be quite annoying, but hang in there. This is the final fight.
Related
Path of Exile 2: How to Add Sockets to Gear
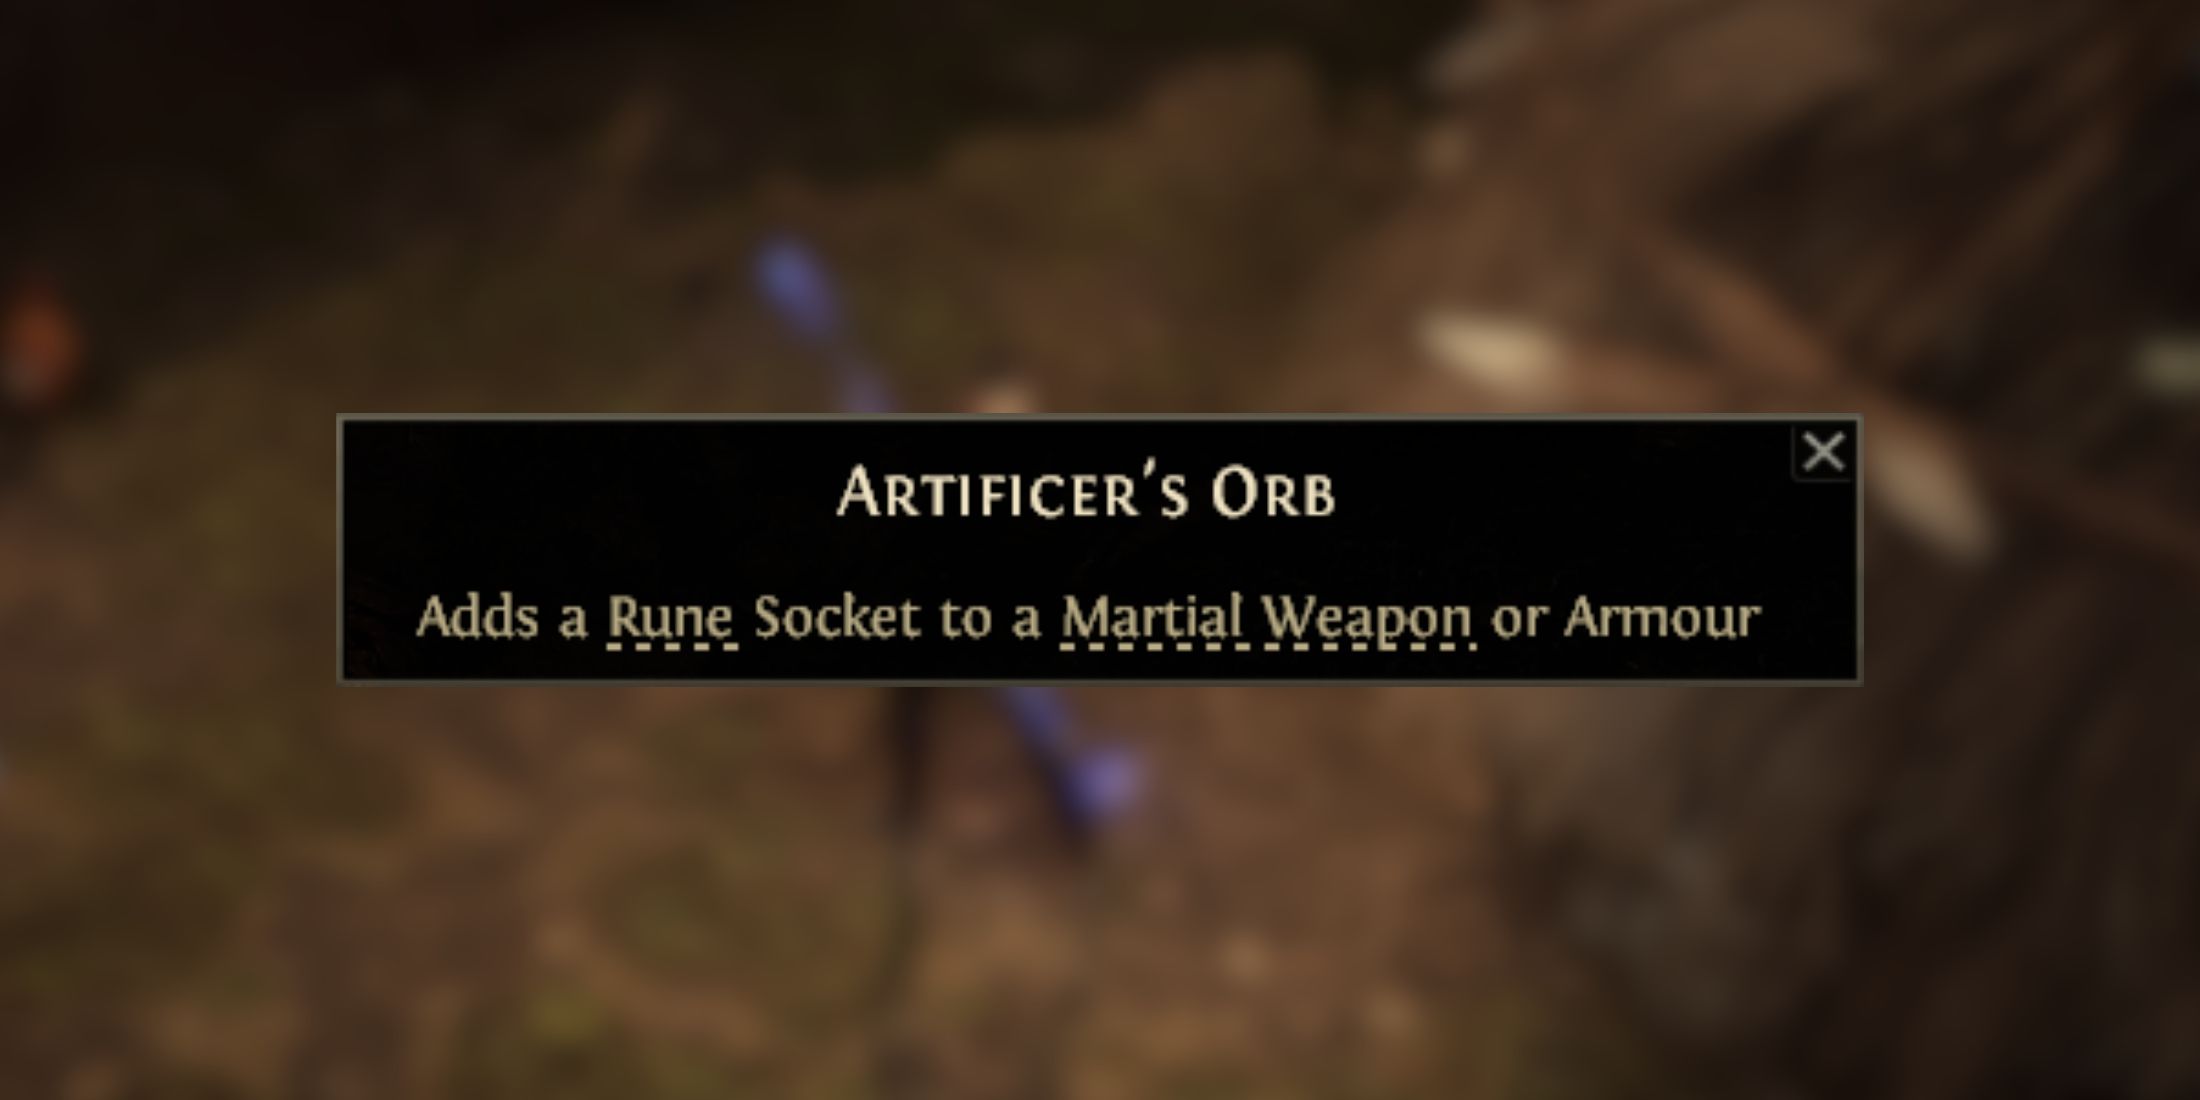
Runes in Path of Exile 2 can only be added to gear that has an empty socket, but most items don’t have them by default.
Phase 2 – Doryani’s Triumph:
Pay attention to the surroundings of the arena, and stay behind the Crab Mecha at all times, players should avoid trying to face it in a frontal assault or he will sweep them out. Here’s all the new abilities the boss gains on its second phase:
- Ground Slam: Uses its pincers to strike targets at close distance. Do not fight him in a melee range to prevent receiving heavy physical damage.
- Head Slam: After a series of slams, Doryani’s bot will remove its own head and use it to slam the ground, generating a big AoE that deals physical damage.
- Targeted Laser: the boss summons a red orb that shoots a laser that does negligible damage. It is easy to dodge.
- Lightning Storm: several clouds of lightning will cover the arena, like the Fire Orbs from the previous phase. They need to be avoided at any cost, since they can Shock and stun the players.
- Laser Machine Gun: Doryani’s Triumph starts to spin his hand, run in the opposite direction (counterclockwise) as he will fire a spinning stream of lasers that will surely OHKO any player hit.
- Fire Cannon: the boss charges and shoots a fire stream causing burning. Can be avoided by sticking close to it and dodging at the right time.
- Frost Cannon: same as with the fire Cannon, but does cold damage and causes Chill. If hit by this, players will be exposed to other dangerous attacks, since they will be slowed.
- Fire Nova: at some point, Doryani’s Triumph starts to rattle and a red circular AoE appears. Stay outside of it and attack from a safe distance to avoid being hit by the Nova.
- Electric Nova: same as with the Fire Nova, but does Electric Damage. The AoE appearing will be blueish instead of read, so pay attention to prevent receiving Shock Ailment.
- Circle of Death: when the robot disassembles and Doryani elevates in his chair, it is time to run as far as possible. Don’t stop, keep moving and avoid the circular white AoE, since it will Insta-kill anyone trapped inside.
Keep circling around the arena, avoiding his attacks, until Doryani is finally defeated. To complete the Legacy of the Vaal Quest, simply talk to Alva, then to Doryani, and watch the cutscene to complete Legacy of The Vaal.
In Normal Difficulty, this will immediately start Act 1 in Cruel difficulty, but after completing it in Cruel difficulty, players will reach the End-Game Stage.
-
Entertainment3 weeks ago
CES 2025: Exhibitors, dates, ticket prices, and everything else you must know
-
Entertainment3 weeks ago
CES 2025: The Electric Salt Spoon is the weirdest thing at CES
-
Entertainment2 weeks ago
CES 2025: Anker’s solar beach umbrella is a must have for the ultimate geek summer
-
Entertainment2 weeks ago
Everything Nvidia announced at CES 2025
-
Games4 weeks ago
Hilarious Red Dead Redemption 2 Compilation Highlights Inexperienced Gamer's First Few Hours
-
Games4 weeks ago
Marvel Rivals Player Pulls Off Ridiculous Winter Soldier Play
-
Entertainment3 weeks ago
Apple, Tesla, Spotify: The tech announcements that never happened in 2024
-
Games4 weeks ago
Marvel Rivals' Season 0 Meta Explained

