Games
Monster Hunter Rise: Overpowered Builds

Key Takeaways
Table of Contents
- Charge Blade fans can explore the Thundering Charge Blade build for a thunder-based, powerful Charge Blade set.
- The Strongarm Stance Build is perfect for Great Sword users looking for offensive skills to take down monsters quickly.
- Immortal Build offers an incredibly tanky mixset with skills like Defense Boost and Recovery Speed for unstoppable survivability.
One of the many joys of playing Monster Hunter is creating an unstoppable mixset to blitz through the endgame, and Monster Hunter Rise: Sunbreak is no different. This addition to the latest game in the Monster Hunter franchise comes with a bevy of new skills to hunt every monster in the catalog.
Great builds in this game range from the excellent Archfiend armor and its powerful Dereliction skill to more niche builds and complex mixsets like Narwa and Ibushi. If players want to find a powerful build to propel them through the endgame or are thinking of trying out a new weapon, read on for some of the best options.
Updated October 12, 2024, by Blaise Santi: The next chapter in the Monster Hunter franchise is only a few months away, as Monster Hunter Wilds is set to release on PC, Xbox Series X/S, and PlayStation 5 in February 2025. As a result, Monster Hunter fanatics may be wrapping up their time in the previous installment, Monster Hunter Rise, whether they’re playing it on the go on Nintendo Switch or with other future Monster Hunter Wilds teammates on PC. For players who are looking for one last challenge before putting down Monster Hunter Rise, try putting together these two extra overpowered builds for weapons that are a little more niche: Insect Glaive and Hunting Horn.
Related
How Long It Takes to Beat Every Monster Hunter Game
The Monster Hunter franchise has been around for almost two decades, and while not every entry is equal, they’ve all offered decent runtimes.
20 Valstrax Rampage Insect Glaive
Fully Decked Out In Elder Dragon Gear
|
Armor Piece |
Skills Granted |
Materials Needed |
|---|---|---|
|
Valstrax Helm |
|
|
|
Valstrax Mail |
|
|
|
Valstrax Braces |
|
|
|
Valstrax Coil |
|
|
|
Valstrax Greaves |
|
|
This build makes good use of the entire Crimson Valstrax set, which requires more than a few fights against one of the most brutal Elder Dragons in the game. However, the end result is an armor set that, when paired with Decorations boosting Attack, Critical Eye, and Sharpness, can be pretty useful for the very particular weapon, the Insect Glaive.
The recommended weapon for this set is in the build’s name. The fully-upgraded Rampage Glaive trades in stellar Sharpness for a powerful attack stat, which will be even more impressive once those Attack Up decorations begin to stack.
19 Elemental Hunting Horn
Have Fun Making Music During Hunts
|
Armor Piece |
Skills Granted |
Materials Needed |
|---|---|---|
|
Valstrax Helm – Epoch |
|
|
|
Valstrax Mail – Epoch |
|
|
|
Primordial Vambraces |
|
|
|
Valstrax Coil – Epoch |
|
|
|
Primordial Greaves |
|
|
Hunting Horn builds are typically crafted for players to provide support for their fellow teammates by extending the time of buffs with skills like Horn Maestro. However, this set is for solo Hunting Horn users who want to take advantage of an underrated aspect of their weapons: elemental damage. This mixed armor pairs well with any elemental horn.
With skills like Partbreaker, Attack Up, and Stamina Surge, Hunting Horn users will find their attacks dealing massive amounts of damage against monsters. Latent Power is also helpful in unlocking the elements behind typically-elementless Hunting Horns. Dragon Conversion is also an overpowered skill that will help supplement elemental attacks.
18 Blood Awakening Long Sword
Feast Off A Monster’s Damage
|
Armor Piece |
Skills Granted |
Materials Needed |
|---|---|---|
|
Risen Kushala Glare |
|
|
|
Primordial Mail |
|
|
|
Primordial Vambraces |
|
|
|
Risen Kaiser Coil |
|
|
|
Primordial Greaves |
|
|
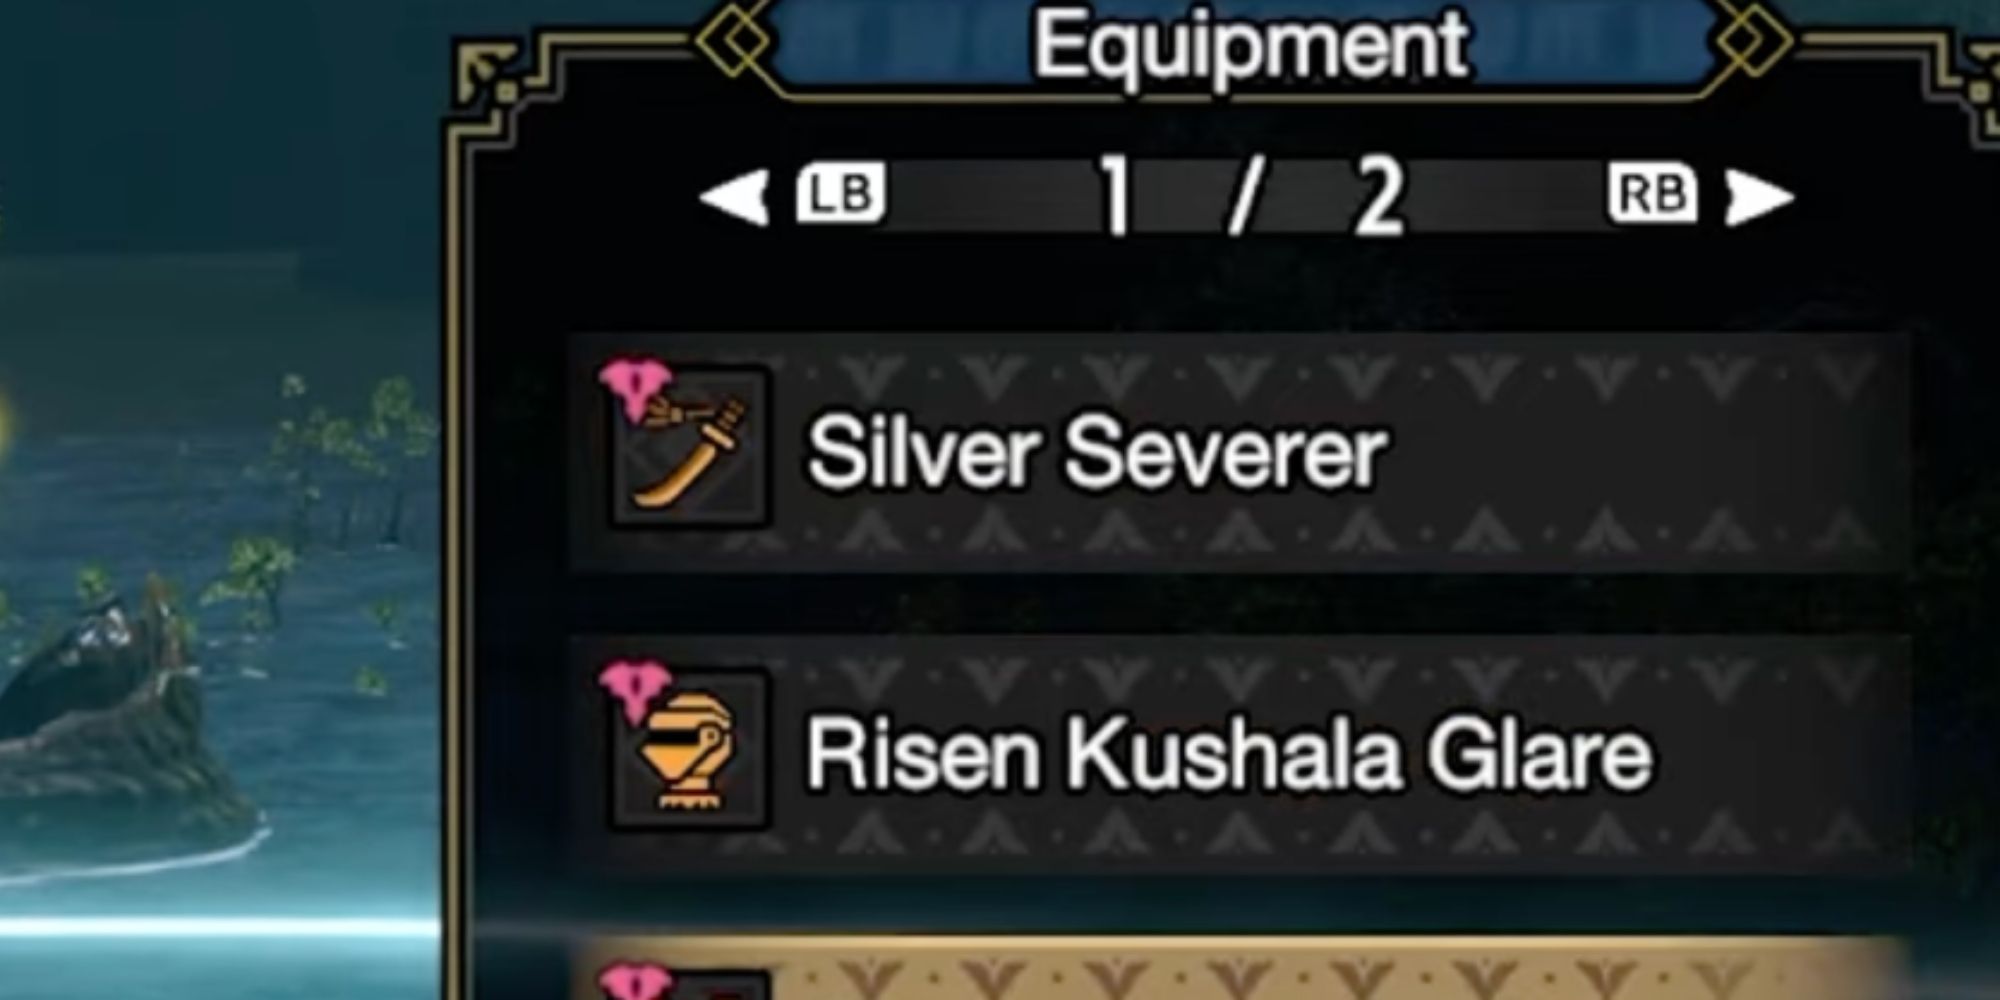
There are lots of pros and cons to using the Long Sword, particularly in online multiplayer in Monster Hunter Rise. On one hand, it’s an incredibly powerful weapon when paired with an Armor set like this, which will increase the power of critical hits with Critical Boost. It can even target breakable monster parts, especially tails, with skills like Partbreaker and Weakness Exploit.
Long Sword users need to stay clear of tripping up their allies in the heat of battle. Fortunately, this Armor set also comes with the Blood Awakening skill, allowing Long Sword users to gain Attack boosts after recovering health from damaging a monster. It’s smart to use a powerful and sharp weapon like the Silver Severer for the most benefits.
17 Pierce Heavy Bowgun
Combine With Pierce Jewels For A Sharp Weapon
|
Armor Piece |
Skills Granted |
Materials Needed |
|---|---|---|
|
Valstrax Helm – Eclipse |
|
|
|
Risen Kushala Iram |
|
|
|
Flaming Espinas Grip |
|
|
|
Virtue / Prudence Coil |
|
|
|
Archfiend Armor Sceros |
|
|
The biggest downside of using Heavy Bowgun is its limited options for movement, as attacks often require hunters to stay in one place and fire. This build takes advantage of that aspect of the Heavy Bowgun, with maxed out Attack Boost, Weakness Exploit, and Pierce Up when paired with the right Armor Decorations.
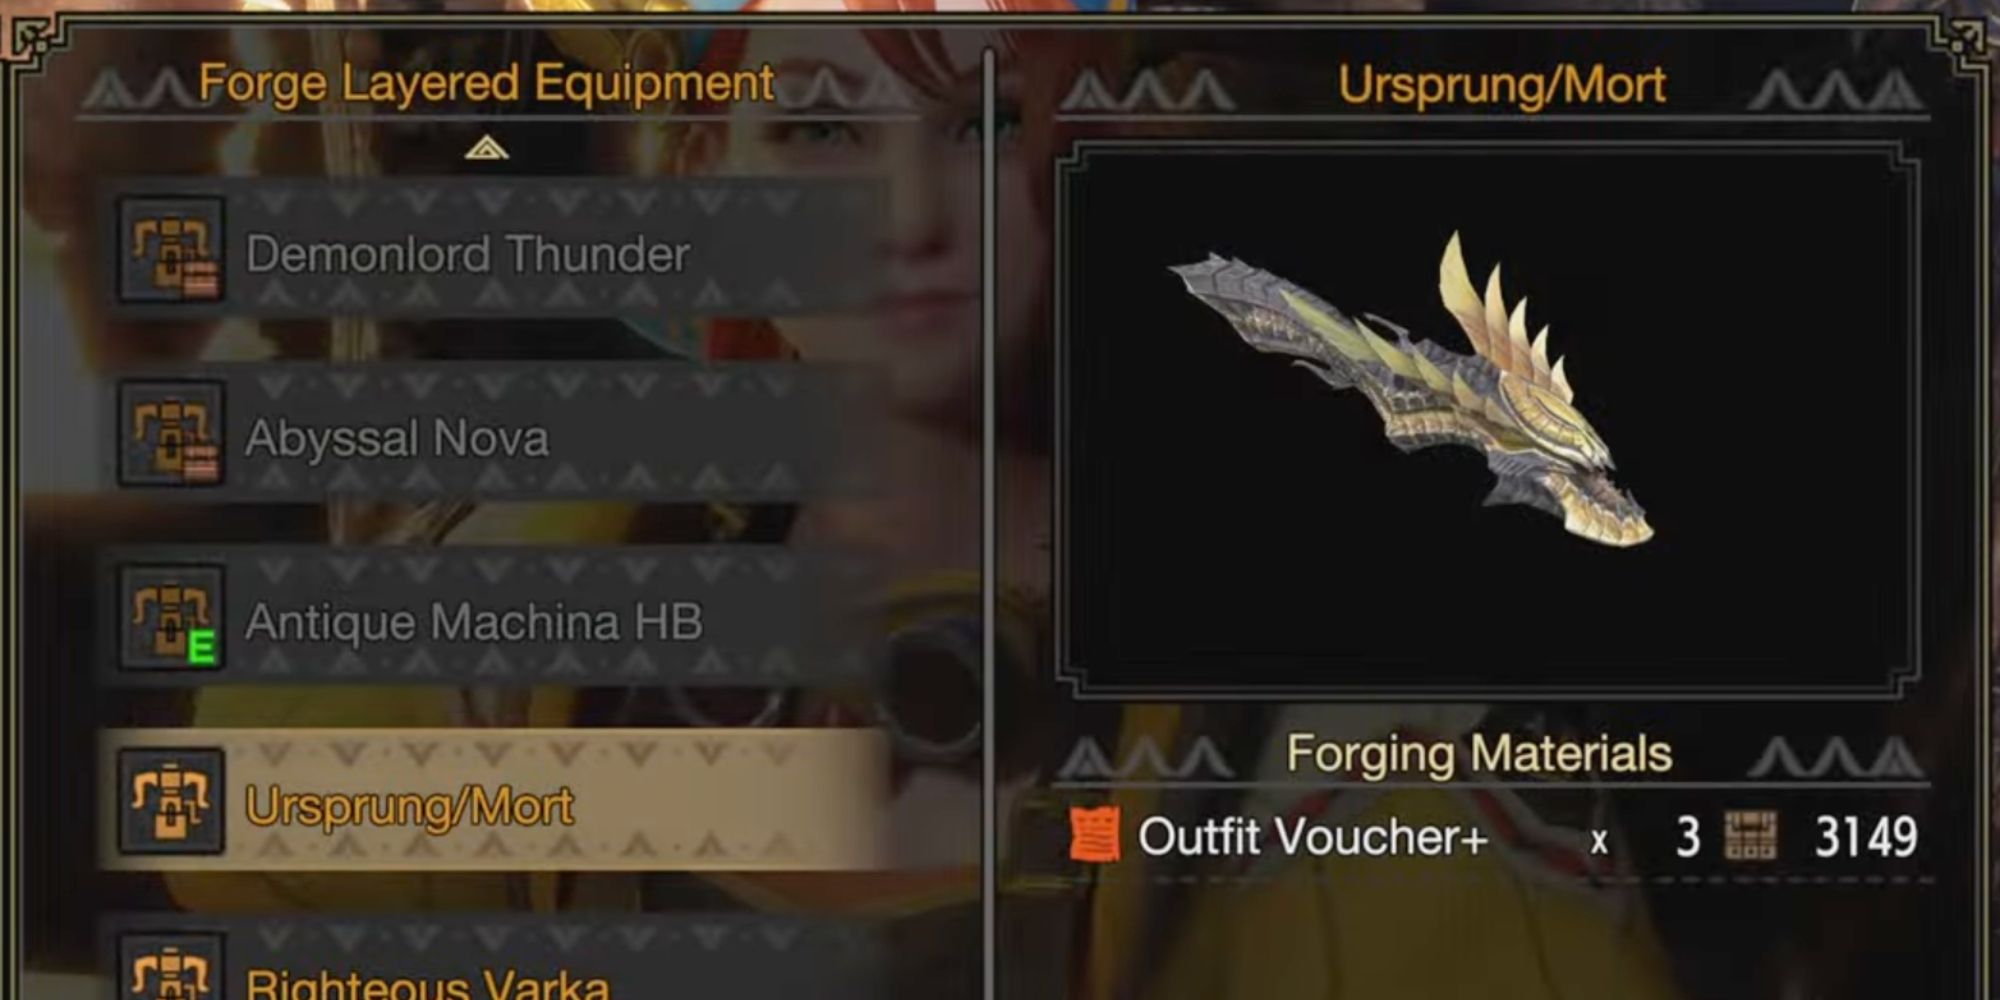
One important skill in this build that make the Heavy Bowgun particularly over-powered is Dragonheart, which will boost elemental resistances when below 80% health, with the downside of inflicting hunters with Dragonblight. However, this won’t be an issue with an element-less weapon like the Ursprung/Mort, forged from Shagaru Magala materials.
16 Silver Shooter Rapid Light Bowgun
Go Wild With A Wide Variety Of Slots
|
Armor Piece |
Skills Granted |
Materials Needed |
|---|---|---|
|
Risen Kaiser Horns |
|
|
|
Risen Kushala Iram |
|
|
|
Virtue / Prudence Braces |
|
|
|
Primordial Coil |
|
|
|
Tempest Hakama |
|
|
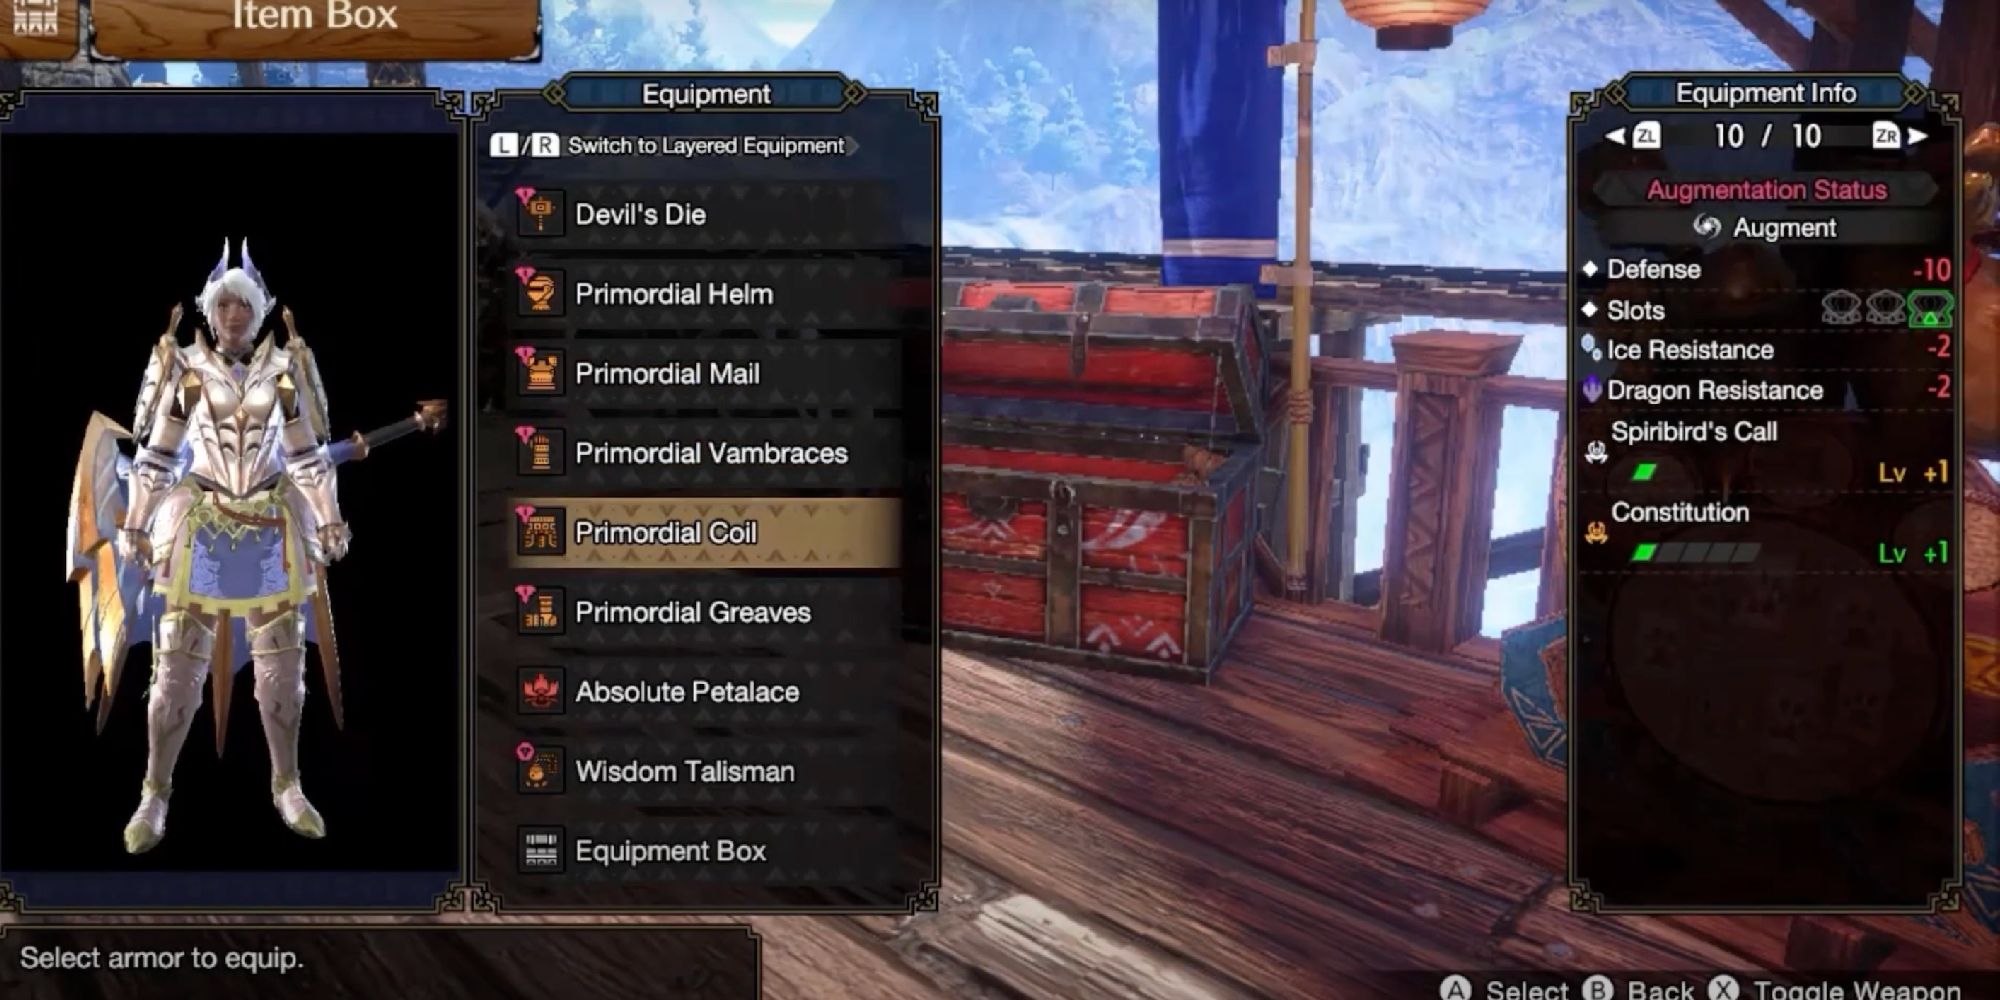
With this Light Bowgun build, even solo hunters will find themselves breezing through difficult quests. Made out of Armor pieces from all Elder Dragons (Teostra, Kushala Daora, Shagaru Magala, Primordial Malzeno, and Amatsu), this set with Decorations boasts universally powerful Skills like Attack Boost, Critical Eye, Weakness Exploit, and Critical Boost.
Additional skills like Reload Speed, Recoil Down, and Rapid Fire Up are all attainable thanks to its large number of slots (including three level 4 slots on the Silver Shooter weapon). With these skills, Light Bowgun users will find themselves faster, stronger, and more capable of avoiding incoming monster attacks at a moment’s notice. Heavy Bowgun users cannot say the same.
15 Dragon Conversion Elemental Spread Bow
Take Elemental Damage To The Next Level
|
Armor Piece |
Skills Granted |
Materials Needed |
|---|---|---|
|
Valstrax Helm – Epoch |
|
|
|
Valstrax Mail – Epoch |
|
|
|
Valstrax Braces – Epoch |
|
|
|
Valstrax Coil – Epoch |
|
|
|
Valstrax Greaves – Epoch |
|
|
The benefit of this Bow set in Monster Hunter Rise: Sunbreak is that it only requires Armor pieces from the Crimson Glow Valstrax, a late-game Elder Dragon added via update. The Valstrax’s Epoch Armor comes with the skill Dragon Conversion, which affects the player’s blue and red Swap Scrolls, decreasing elemental resistance or boosting elemental attack.
When paired with a strong elemental bow like the Queen’s Rhapsody or Crimson Plume, Bow users will excel with increased elemental damage, as well as additional skills like Attack Boost, Latent Power, and Stamina Surge. Plus, it can be boosted with the handy Bow skill Bow Charge Plus, which is a must-have for the weapon’s users.
14 Lucent Raw Balanced Charge Blade
A Mixed Set With Guaranteed Potential
|
Armor Piece |
Skills Granted |
Materials Needed |
|---|---|---|
|
Astalos Helm |
|
|
|
Archfiend Armor Baulo |
|
|
|
Golden Lunebraces |
|
|
|
Rathalos Coil X |
|
|
|
Malzeno Greaves |
|
|
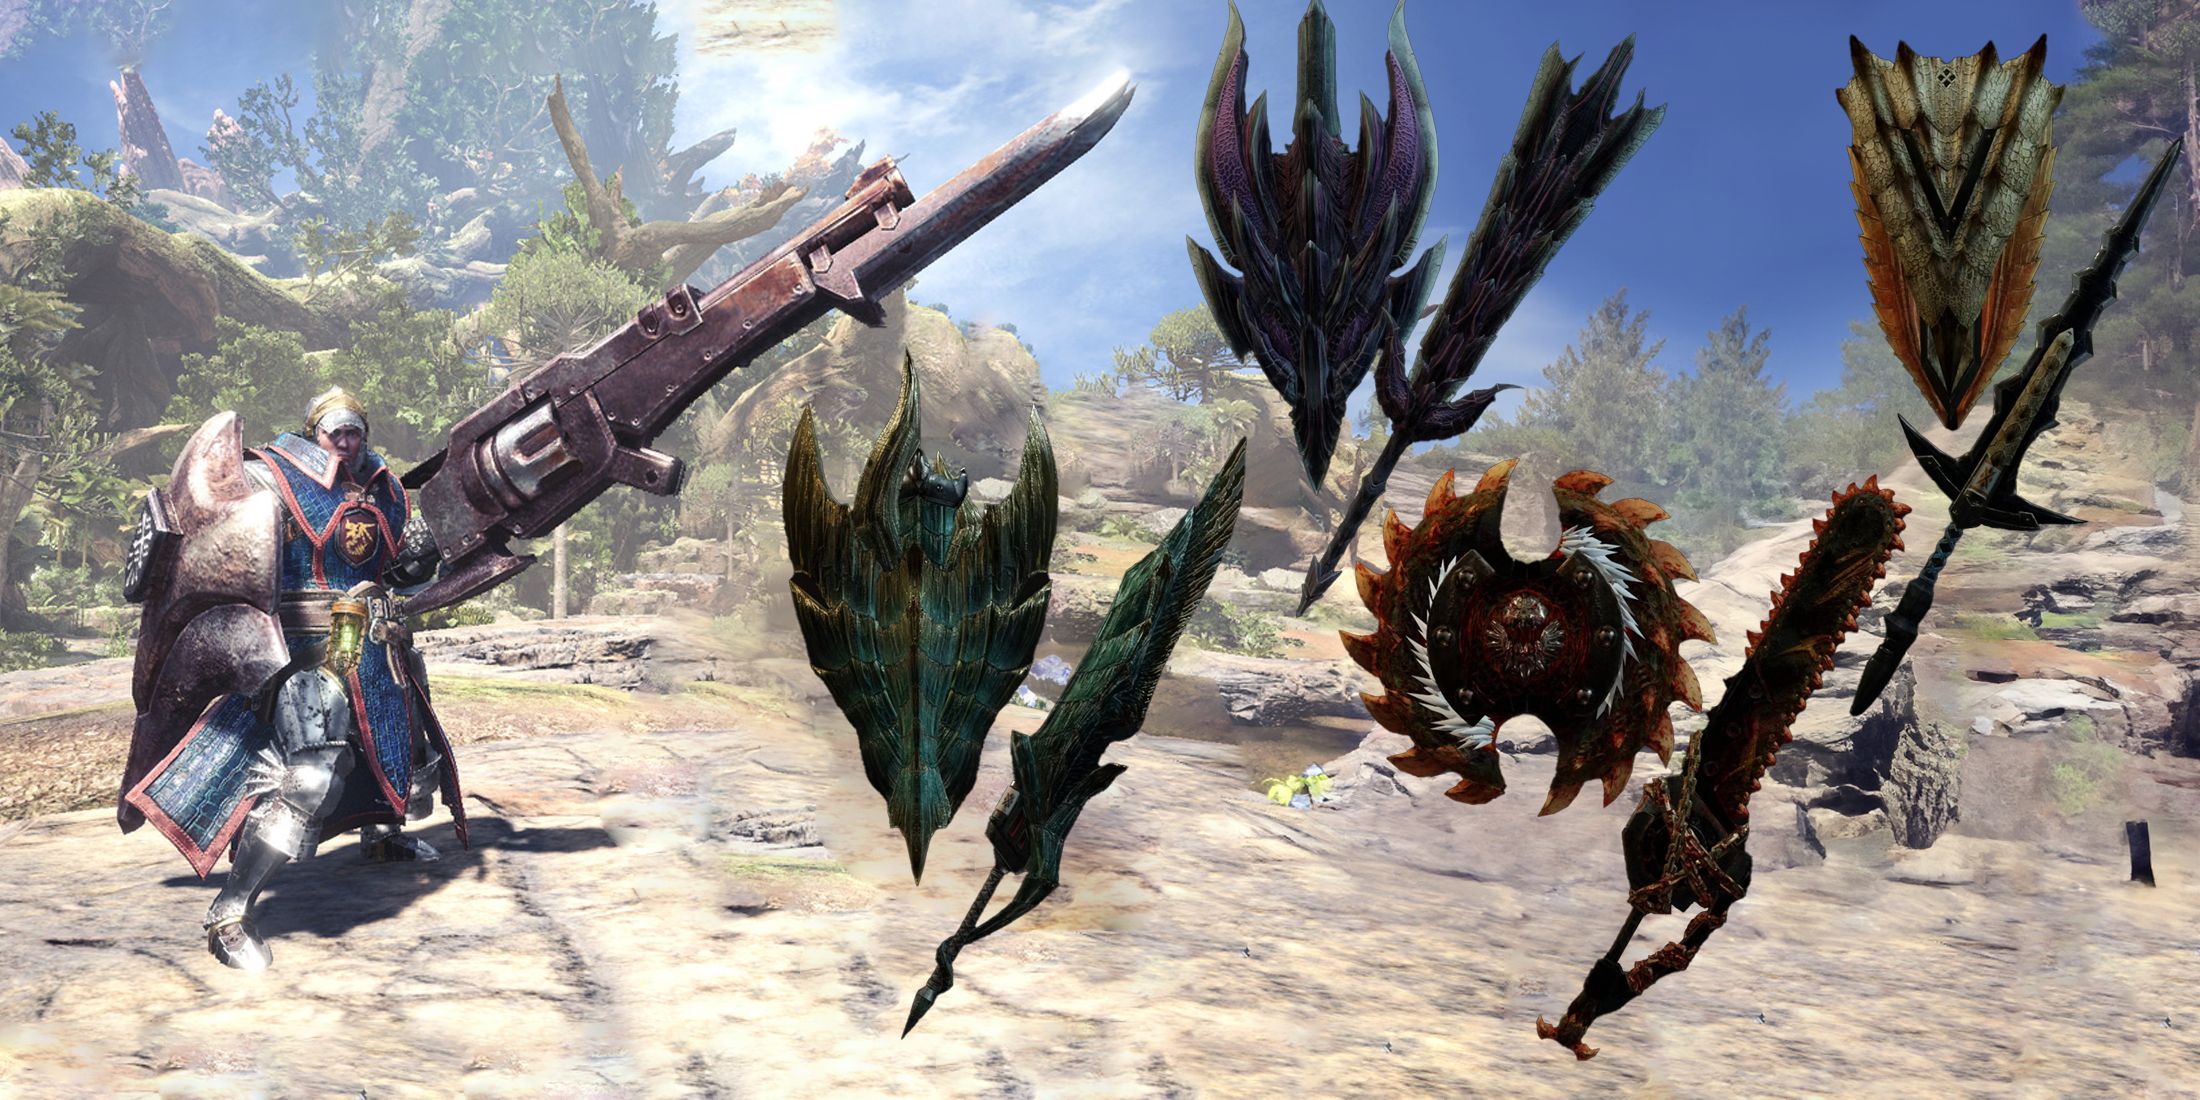
The Lucent Nargacuga was added to Monster Hunter Rise via an update in 2022, allowing fans to battle this superpowered version of the fan-favorite Nargacuga. This monster’s materials also allow Charge Blade users to craft the Nunki’s Asterism, one of the best poison-coated Charge Blades in the game, which can be improved with the right Armor.
Related
Monster Hunter World: Best Charge Blades, Ranked
Charge Blade users in Monster Hunter World have some great weapons to choose from in the game. Here are the best available.
This Armor set requires mixing of pieces from Astalos, Rathalos, Malzeno, and Gold Rathian. Among its acquired Armor Skills include Critical Boost, Burst, Windproof, and Weakness Exploit. With the help of Decorations and Charms, Charge Blade users can add must-have skills like Artillery, Rapid Morph, and Load Shells.
13 Heaven-Sent Embolden Sword & Shield
Generations Of Elder Dragons Combine To Form This
|
Armor Piece |
Skills Granted |
Materials Needed |
|---|---|---|
|
Risen Kaiser Horns |
|
|
|
Tempest Robe |
|
|
|
Risen Mizuha Sleeves |
|
|
|
Virtue / Prudence Coil |
|
|
|
Valstrax Greaves – Epoch |
|
|
This Sword and Shield armor set will be a challenge to craft, as it requires armor pieces from Risen Elder Dragons as well as the formidable Amatsu. Altogether, it will result in some pretty useful skill bonuses, including fully upgraded Attack Boost, Critical Eye, and Critical Boost, as well as rare skills like Chameleos Blessing.
This build really comes to life with the rare skills Heaven-Sent and Embolden, which both help during confrontations with large monsters. Additionally, players will do well by equipping a fully-upgraded Phecda’s Asterism, which boasts lots of purple Sharpness even without the Handicraft skill, though this can be remedied with its open slots.
12 Blood Awakening Hammer
Fear The Hammer’s Bloodlust
|
Armor Piece |
Skills Granted |
Materials Needed |
|---|---|---|
|
Risen Kushala Glare |
|
|
|
Primordial Mail |
|
|
|
Risen Mizuha Sleeves |
|
|
|
Risen Kushala Cocoon |
|
|
|
Primordial Greaves |
|
|
Hammer users in Monster Hunter Rise: Sunbreak can get a lot out of the armor and weapons available to them via DLC. However, the Magnamalo hammer, Devil’s Die, makes for an incredibly strong tool boasting a large attack and a heavy dose of Blast element. Like the previous Sword and Shield set, its best-paired armor set requires some challenge.
With the fully assembled set, including Risen Kushala Daora and Risen Chameleos materials, Hammer users will inherit skills such as Attack Boost, Buildup Boost, Recovery Up, and Partbreaker. It also bestows the Blood Awakening skill, which boosts attack after regaining a certain amount of health through attacking monsters.
11 Amatsu Gunlance
A Gunlance Sent By The Gods
|
Armor Piece |
Skills Granted |
Materials Needed |
|---|---|---|
|
Risen Kushala Glare |
|
|
|
Tempest Robe |
|
|
|
Tempest Sleeves |
|
|
|
Virtue / Prudence Coil |
|
|
|
Virtue / Prudence Greaves |
|
|
The Gunlance is one of the hardest weapons to master, especially in a title like Monster Hunter Rise, which emphasizes movement and verticality in fights. However, there are many armor sets and skills in the Sunbreak expansion which will give Gunlance users the opportunity to deal a lot of damage all at once, which is the case with this build.
Featuring armor pieces from the Amatsu and Risen Shagaru Magala sets, this build pairs skills like Weakness Exploit, Latent Power, and Bloodlust with the Amatsu Gunlance, which boasts 350 attack and strong sharpness. The armor pieces also include a vast amount of slots, which can be used to buff its Attack Boost skills for extra damage.
10 Royal Order Sword & Shield
A Sword & Shield Build Fit For A King
|
Armor Piece |
Skills Granted |
Materials Needed |
|---|---|---|
|
Kaiser Crown X |
|
|
|
Archfiend Armor Baulo |
|
|
|
Barroth Vambraces X |
|
|
|
Nargacuga Coil X |
|
|
|
Archfiend Armor Sceros |
|
|
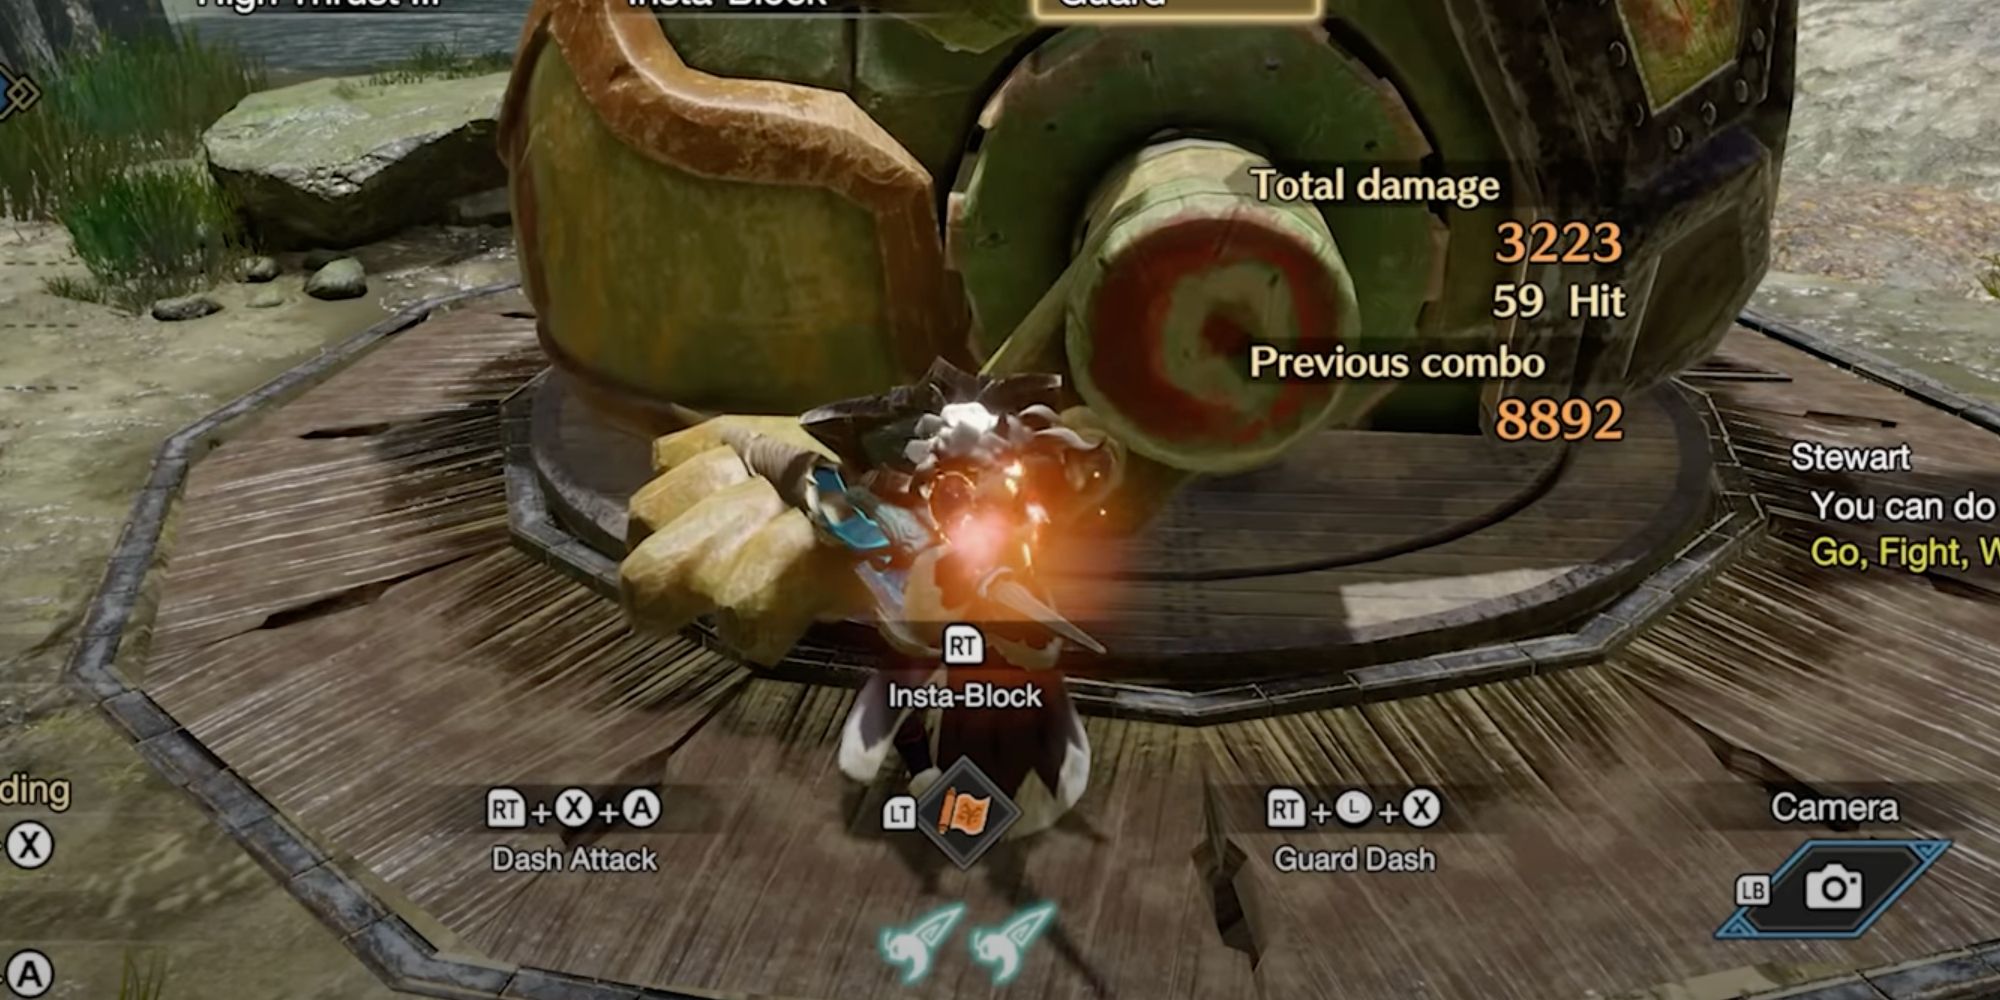
The Sword & Shield is one of the most versatile weapons in the Monster Hunter franchise, especially in Monster Hunter Rise as well as the Sunbreak expansion. Being able to use items while the weapon is drawn allows hunters to easily access many different support options. Additionally, the weapon benefits from fast attack combos and wide movement.
Related
Monster Hunter World: Overpowered Builds That Are A Lot Of Fun
Monster Hunter World has plenty of build options, and these are the most powerful in Capcom’s game.
However, this SnS build takes advantage of two aspects that a player’s SnS build may be lacking: sharpness and affinity. With Master Rank armor pieces from Teostra (head), Barroth (arms), Nargacuga (waist), and Gaismagorm (chest and legs), hunters can take advantage of skills like Critical Eye, Attack Boost, and Weakness Exploit with lots of purple Sharpness.
9 Rooksearer Hunting Horn
This Hunting Horn Set Is No Easy Feat To Make
|
Armor Piece |
Skills Granted |
Materials Needed |
|---|---|---|
|
Risen Kaiser Horns |
|
|
|
Risen Kaiser Mail |
|
|
|
Archfield Armor Epine |
|
|
|
Chaotic Faulds / Nephilim Tassets |
|
|
|
Archfiend Armor Sceros |
|
|
Hunting Horn users live and die by the buffs it can provide during multiplayer hunts. The Bazel Valdi Rooksearer Hunting Horn not only provides three useful buffs via song: Earplugs, Attack Up, and Health Recovery, but it also comes equipped with the Blast element, allowing hunters to deal extra damage while playing their songs.
Its perfectly-paired armor set should provide even more whopping damage for the weapon: skills like Critical Eye and Weakness Exploit are key, but they’ll come at quite a cost. Players will need pieces from Risen Teostra (head & chest), Gaismagorm (arms & legs), and Chaotic Gore Magala (waist), with appropriate Decorations to maximize lower-level skills.
8 Aggressive Powder Mantle Lance
Let Monsters Think The Worst
|
Armor Piece |
Skills Granted |
Materials Needed |
|---|---|---|
|
Flaming Espinas Brain |
|
|
|
Risen Kaiser Mail |
|
|
|
Onmyo Tekkou |
|
|
|
Risen Kaiser Coil |
|
|
|
Onmyo Sashiko |
|
|
The Lance is all about being able to absorb a monster’s attacks and draw its attention while allies make mincemeat of it. This means a good Lance set must-have skills that benefit this: such as this set which requires armor pieces from Flaming Epsinas (head), Risen Teostra (chest and waist), and Violet Mizutsune (arms and legs).
Related
Monster Hunter World: 9 Best Elements To Prioritize, Ranked
In Capcom’s Monster Hunter World, choosing the right Element for a weapon can make or break a hunt. From Ice to Poison, World has plenty of options.
With Decorations like Shield Jewels, Guardian Jewels, and Critical Jewels, players can lift skills that any Lance would benefit from. Particularly, Lance users will find themselves benefiting from the skill Powder Mantle, which can affect the attack or explosive damage to a hunter’s weapon. Pair it with a Lance like the Fine Kamura Spear with high Sharpness.
7 Poison Veil Caster Insect Glaive
Agility And Poison Expertise
|
Armor Piece |
Skills Granted |
Materials Needed |
|---|---|---|
|
Risen Kaiser Horns |
|
|
|
Risen Kaiser Mail |
|
|
|
Risen Mizuha Sleeves |
|
|
|
Risen Kaiser Coil |
|
|
|
Ingot Greaves X |
|
|
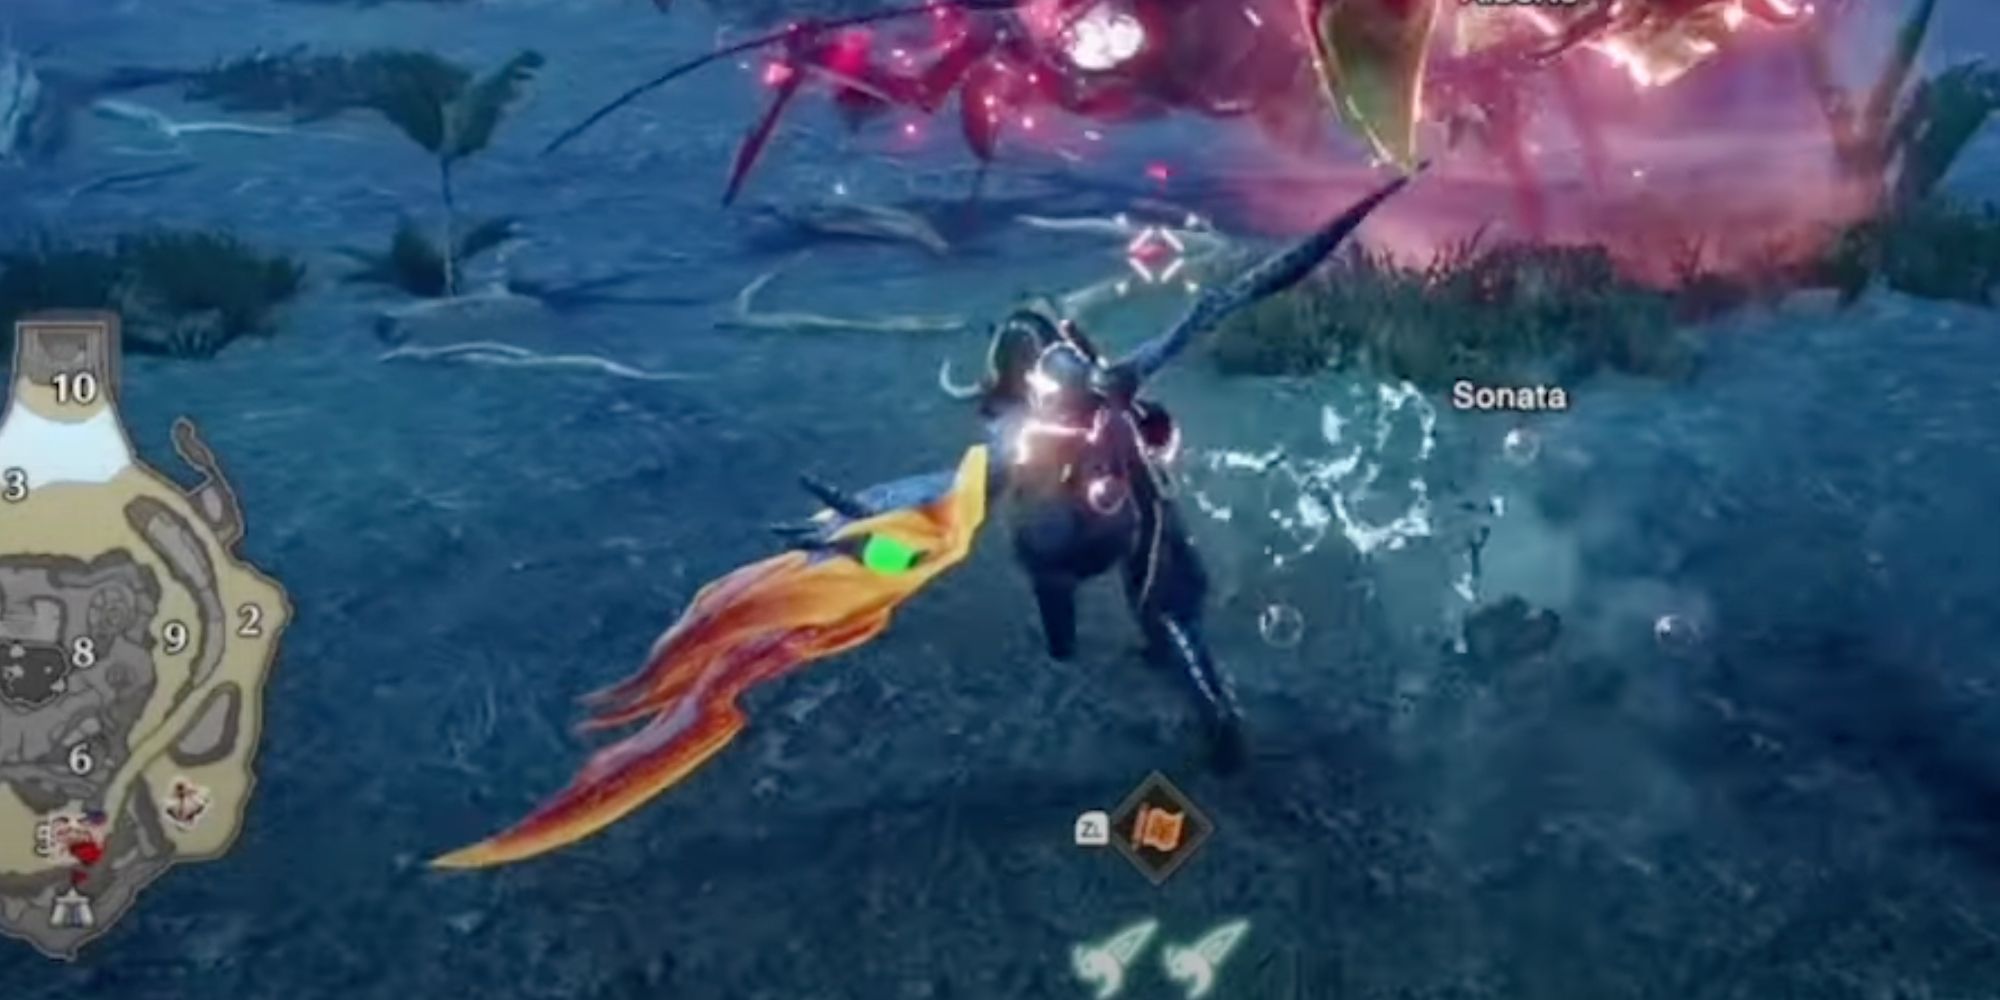
It can be hard to find an Armor set that’s right for an Insect Glaive, given it’s one of the more unique weapons in the series. However, this Armor set will benefit users who have risked their lives enough for the Chameleos Insect Glaive, known as the Veil Caster. This Insect Glaive deals a great bit of poison damage, with impressive Sharpness to boot.
However, the Armor set will consist mostly of Risen Teostra pieces (head, chest, waist), giving hunters the Powder Mantle skill yet again. It also requires pieces from Risen Chameleos (arms) and Ingot Armor (legs); the latter requires the collection of Purecrystals. This set will maximize a player’s Poison Attack, as well as boost their critical hit ratios.
6 Primordial Malzeno Switch Axe
A Fearsome Foe Gives Way To An Even More Fearsome Build
|
Armor Piece |
Skills Granted |
Materials Needed |
|---|---|---|
|
Risen Kushala Glare |
|
|
|
Primordial Mail |
|
|
|
Primordial Vambraces |
|
|
|
Virtue / Prudence Coil |
|
|
|
Primordial Greaves |
|
|
One of the many weapons to receive a buff in the form of a new counter switch skill, the Switch Axe has propelled itself into the limelight as of late. The Switch Axe’s quick attacks are potent for exploiting the element changes in Monster Hunter Rise: Sunbreak.
Pieces of Risen Kushala Daora and Primordial Malzeno come together to provide Partbreaker, Weakness Exploit and Critical Boost. When adding Talismans, Decorations, and Charms, players can also take advantage of Insect Glaive-specific skills like Rapid Morph, Power Prolonger, and Evade Extender, among others.
5 Buildup Status Dual Blades
Blast Or Poison Monsters
|
Armor Piece |
Skills Granted |
Materials Needed |
|---|---|---|
|
Risen Kaiser Horns |
|
|
|
Risen Kaiser Mail |
|
|
|
Risen Mizuha Sleeves |
|
|
|
Risen Kaiser Coil |
|
|
|
Risen Mizuha Gaiters |
|
|
The Chameleos and Magnamalo weapons in Sunbreak are not just for fashion: their Dual Blades come with either blast or poison. This build uses Demon Mode’s considerable boost to status and Dual Blades’ new Silkbind Attack, Spiral Slash, to turn hunters into a dancing dervish of explosive and venomous death with even greater status buildup.
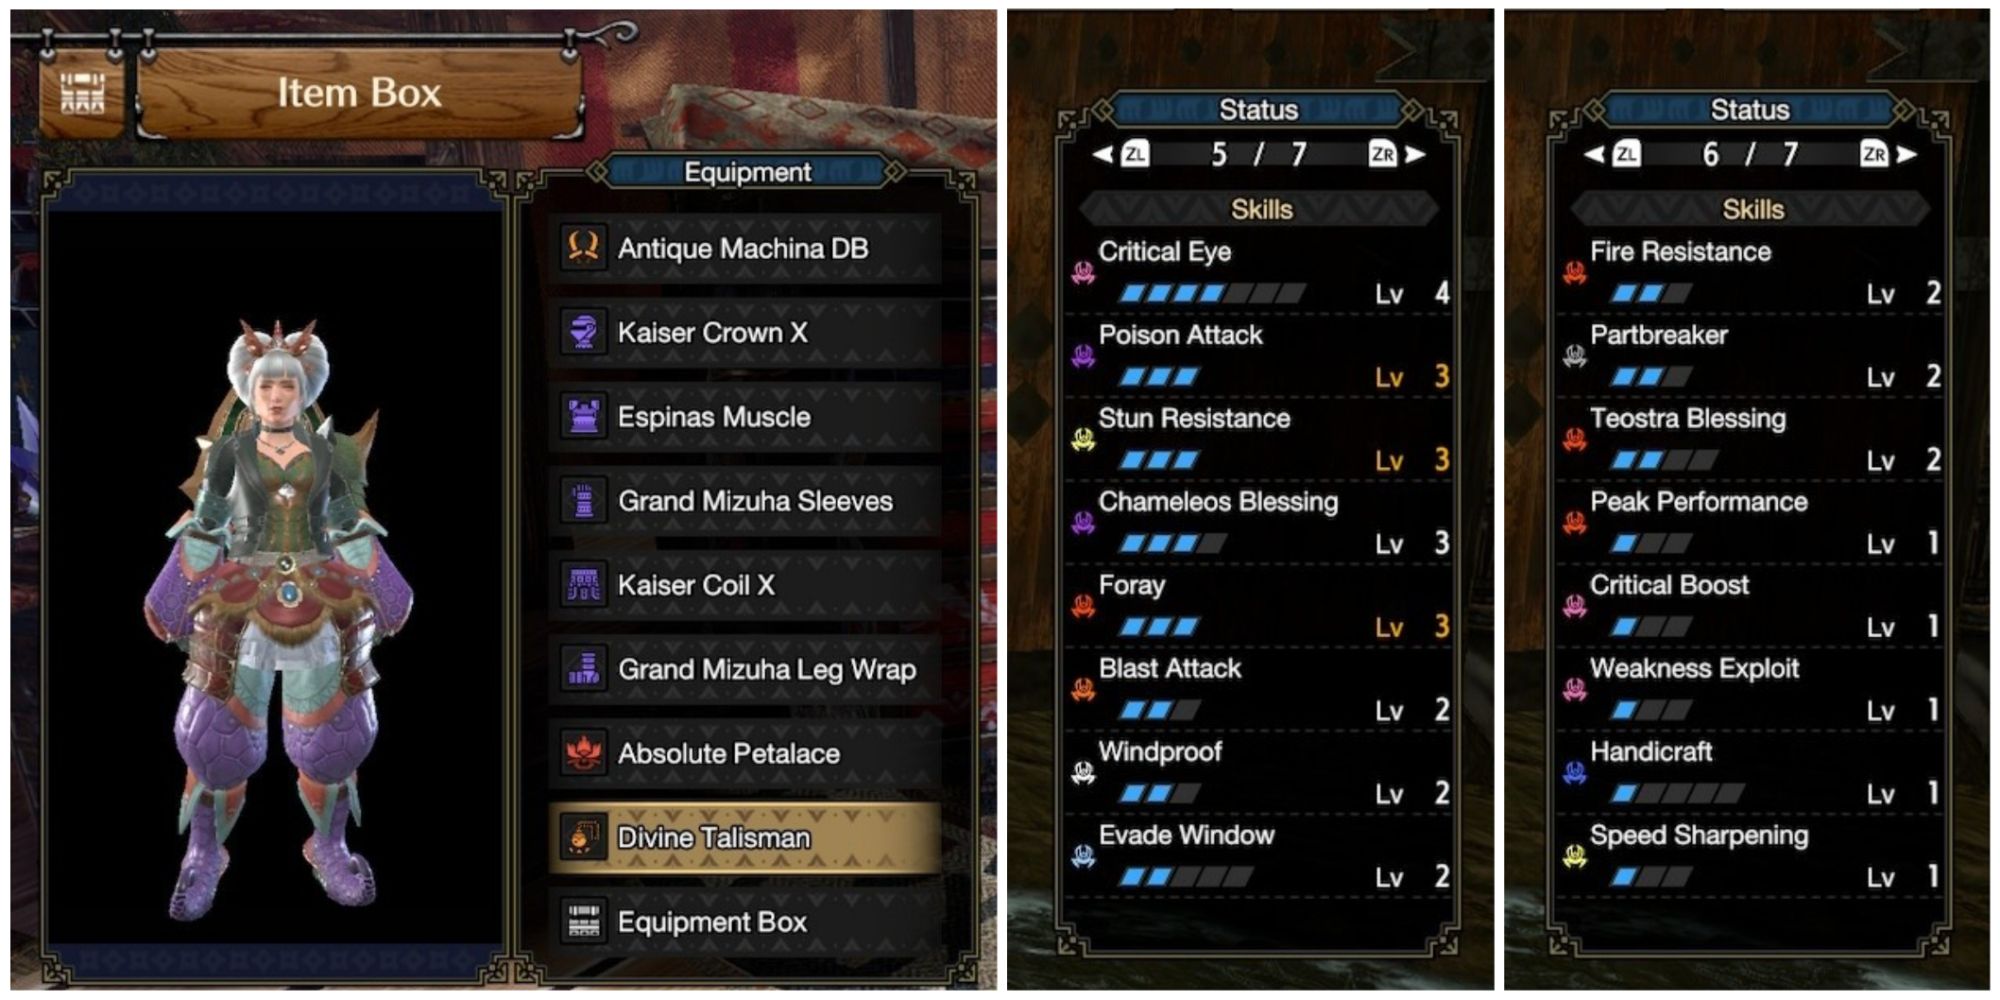
This build consists primarily of Kaiser and Grand Mizuha pieces to activate the Teostra and Chameleos Blessing, which improve blast and poison, respectively. In addition, because this set also has many Decoration slots, players can add small decorations like Steadfast and Grinder as necessary for a comfier play style.
4 Volcanic Dereliction
A Long Sword Set For A Long Journey Of Hunting
|
Armor Piece |
Skills Granted |
Materials Needed |
|---|---|---|
|
Archfiend Armor Cerato |
|
|
|
Archfiend Armor Baulo |
|
|
|
Archfiend Armor Epine |
|
|
|
Archfiend Armor Ura |
|
|
|
Archfiend Armor Sceros |
|
|
The Long Sword was, for a long time, the strongest weapon in Monster Hunter: Rise. With the nerfs it received in Sunbreak, it no longer holds the crown, but it remains a powerful weapon, especially when taking advantage of the recent buffs to elemental damage.
Related
Monster Hunter Rise: Sunbreak – Easiest Weapons For Newcomers, Ranked
Picking the right weapon in Monster Hunter is vital, and with several options, it can be difficult for newcomers to choose the right one.
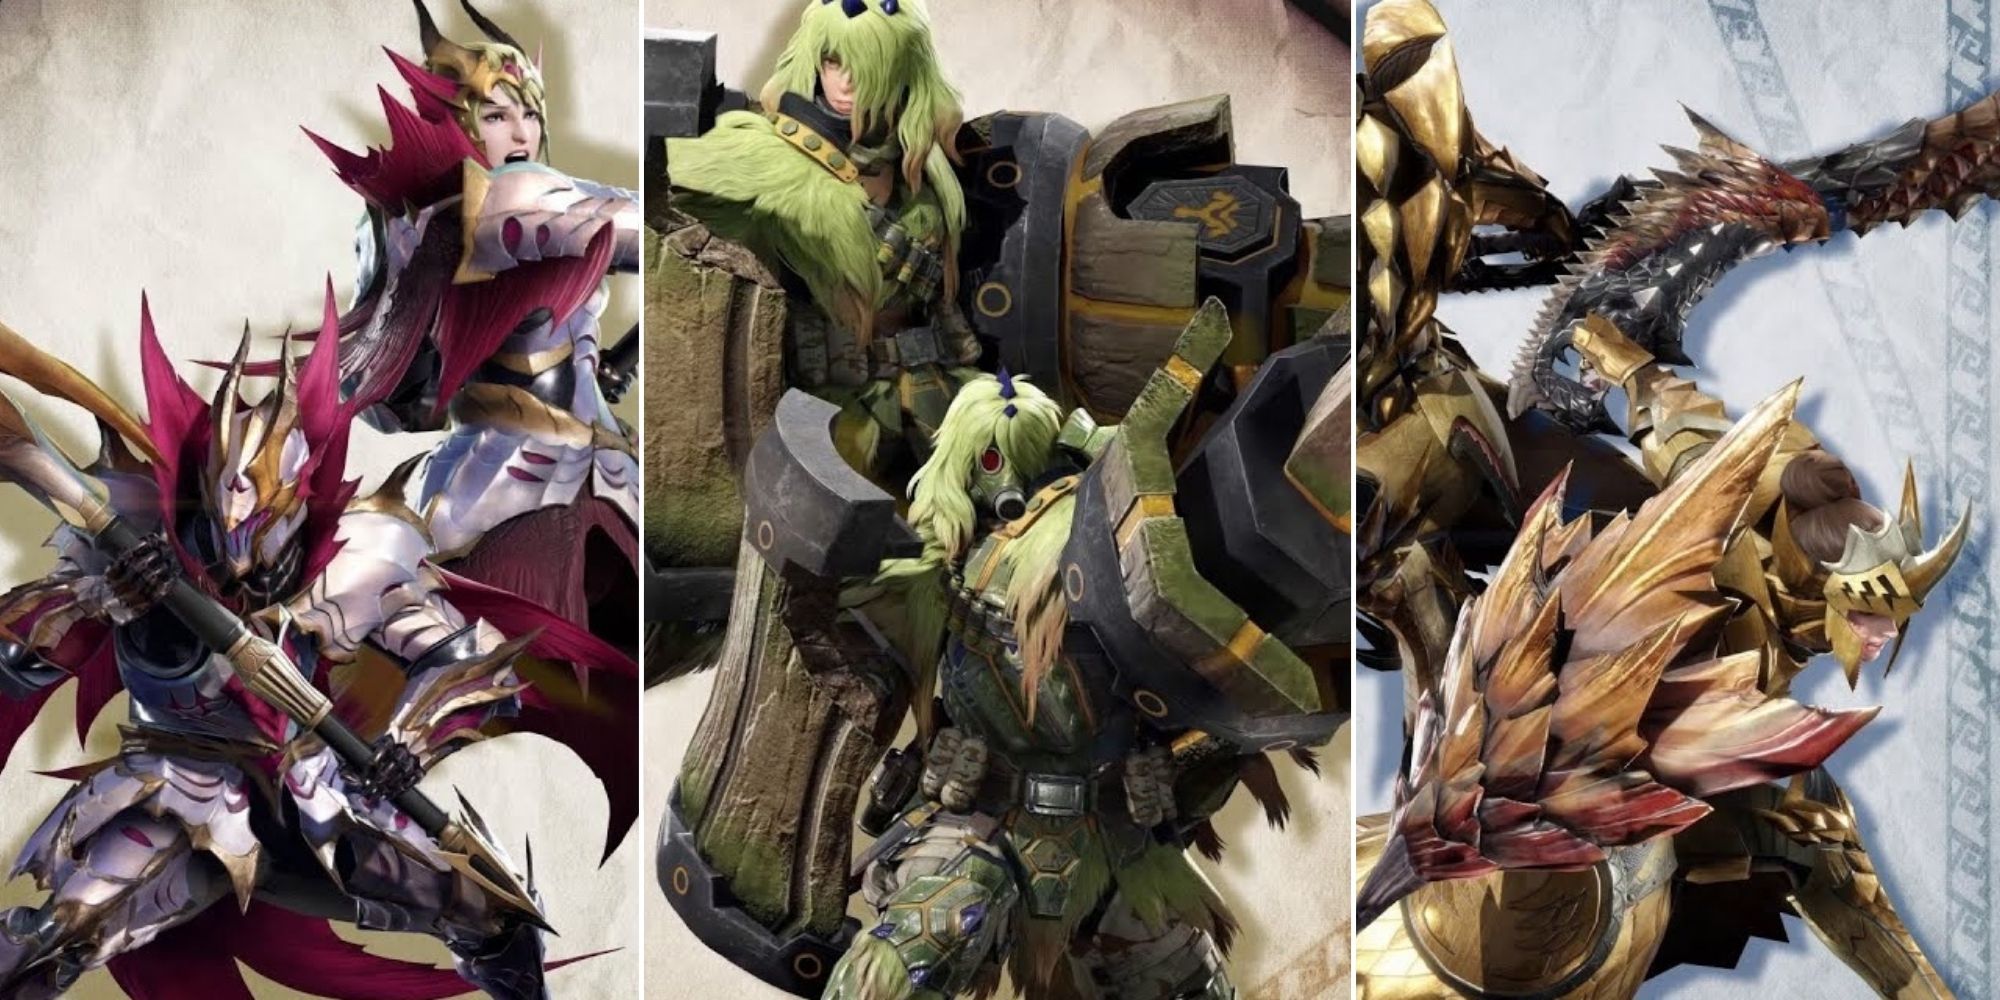
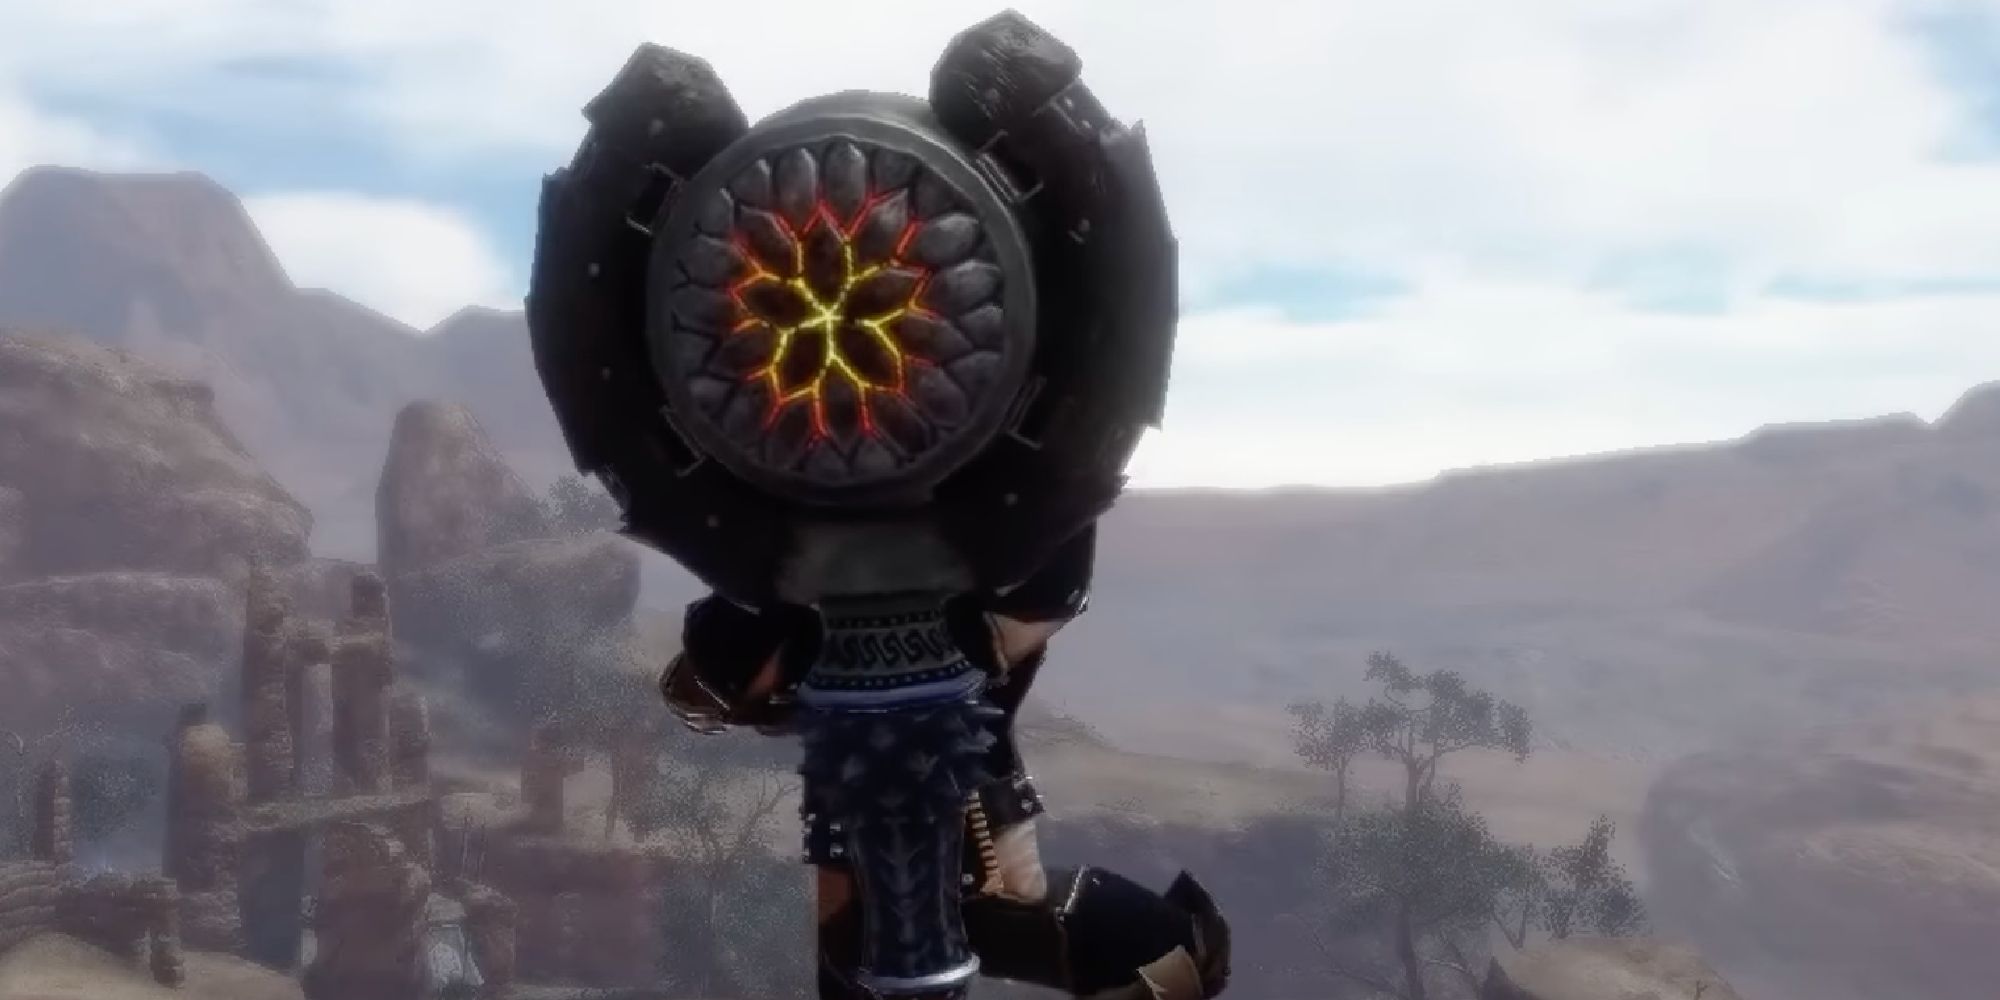
This set is simple: the Volcanic Apocalypse, Magma Almudron’s weapon, combined with a complete set of Archfiend armor from the final boss. This set provides maximum Resentment, Chain Crit, and Weakness Exploit alongside the powerful Dereliction skill. This skill, ever-present in speedrunning sets, provides a considerable boost of +20 element at the cost of slowly draining the player’s health. This set uses Volcanic Apocalypse, which has the highest base element of any Long Sword, but any elemental choice can be swapped in by replacing the appropriate element attack decorations.
3 Immortal Build
Don’t Worry About Carting With This Expert Build
|
Armor Piece |
Skills Granted |
Materials Needed |
|---|---|---|
|
Divine Ire Mask |
|
|
|
Malzeno Mail |
|
|
|
Kushala Grip X |
|
|
|
Malzeno Coil |
|
|
|
Kushala Crus X |
|
|
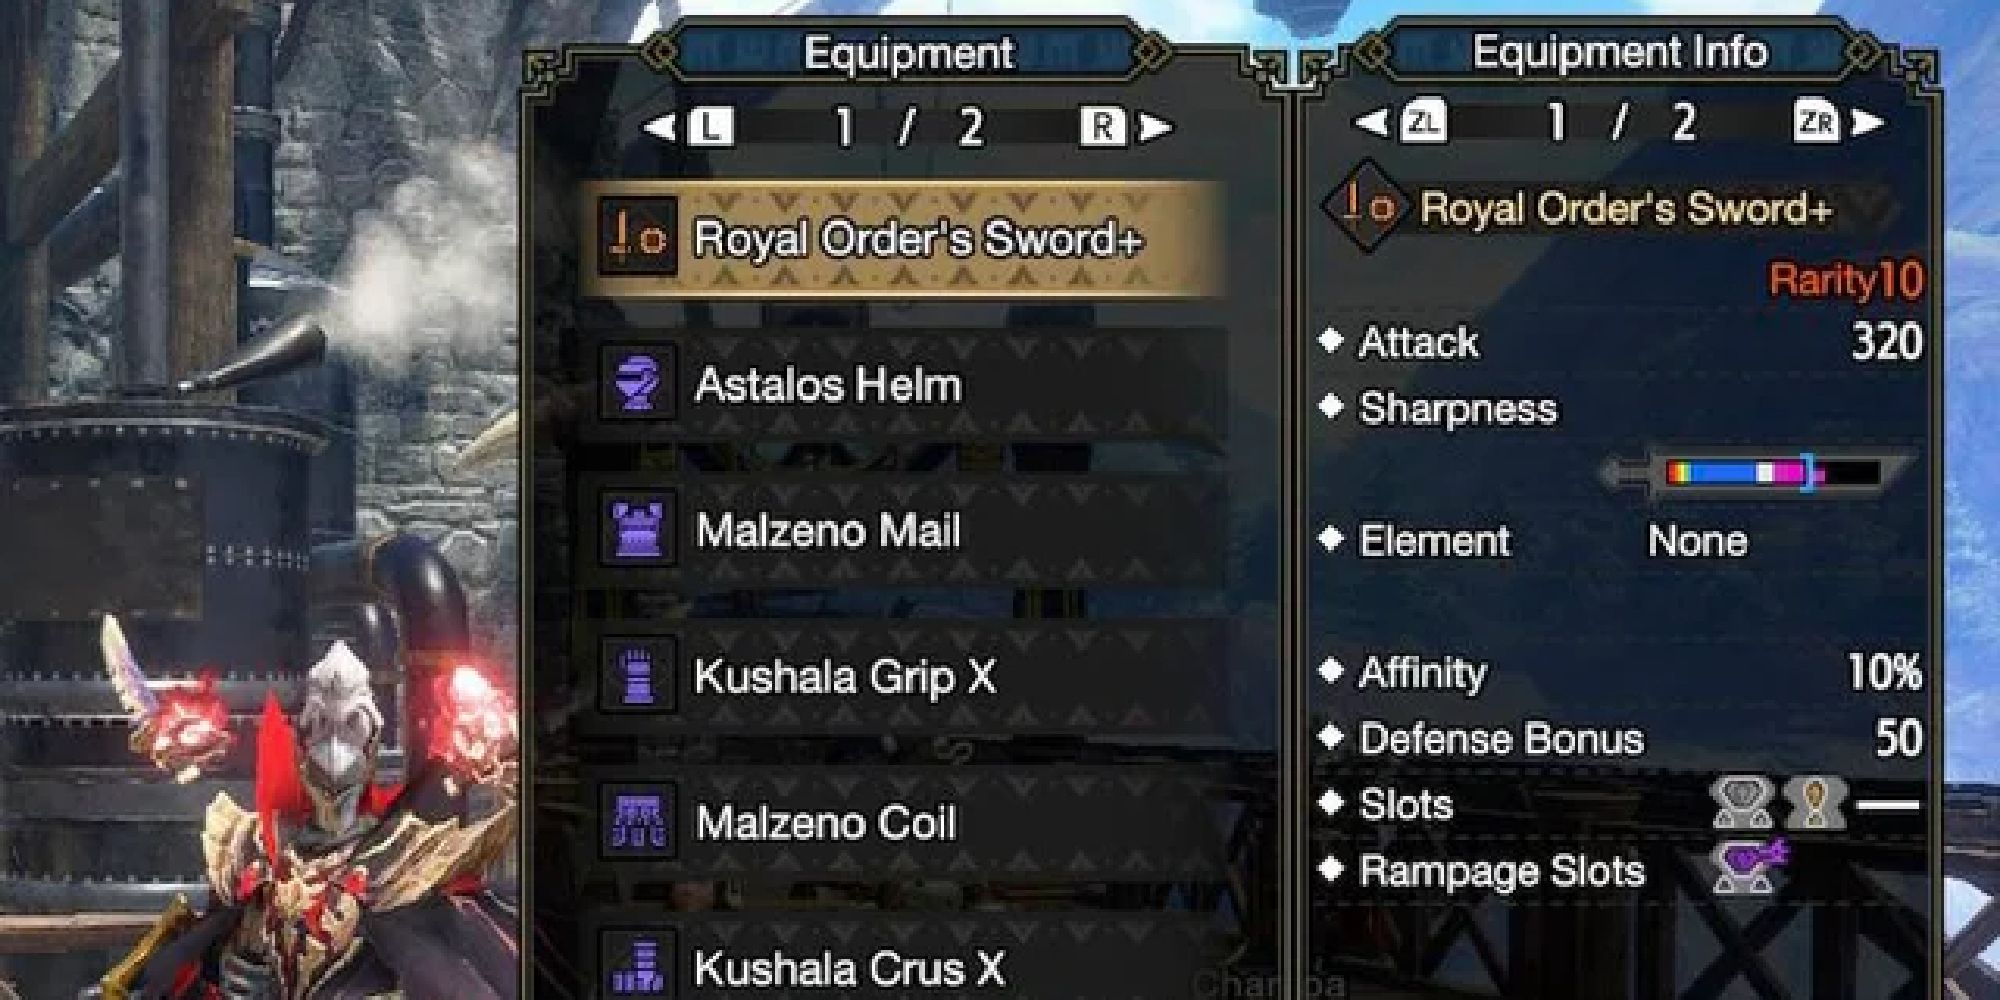
The Monster Hunter aficionados at RageGamingVideos have a tradition of creating immortal builds: mixsets so incredibly tanky that no monster can kill the hunters who wield them. At last, they have brought the immortal build to life in Sunbreak.
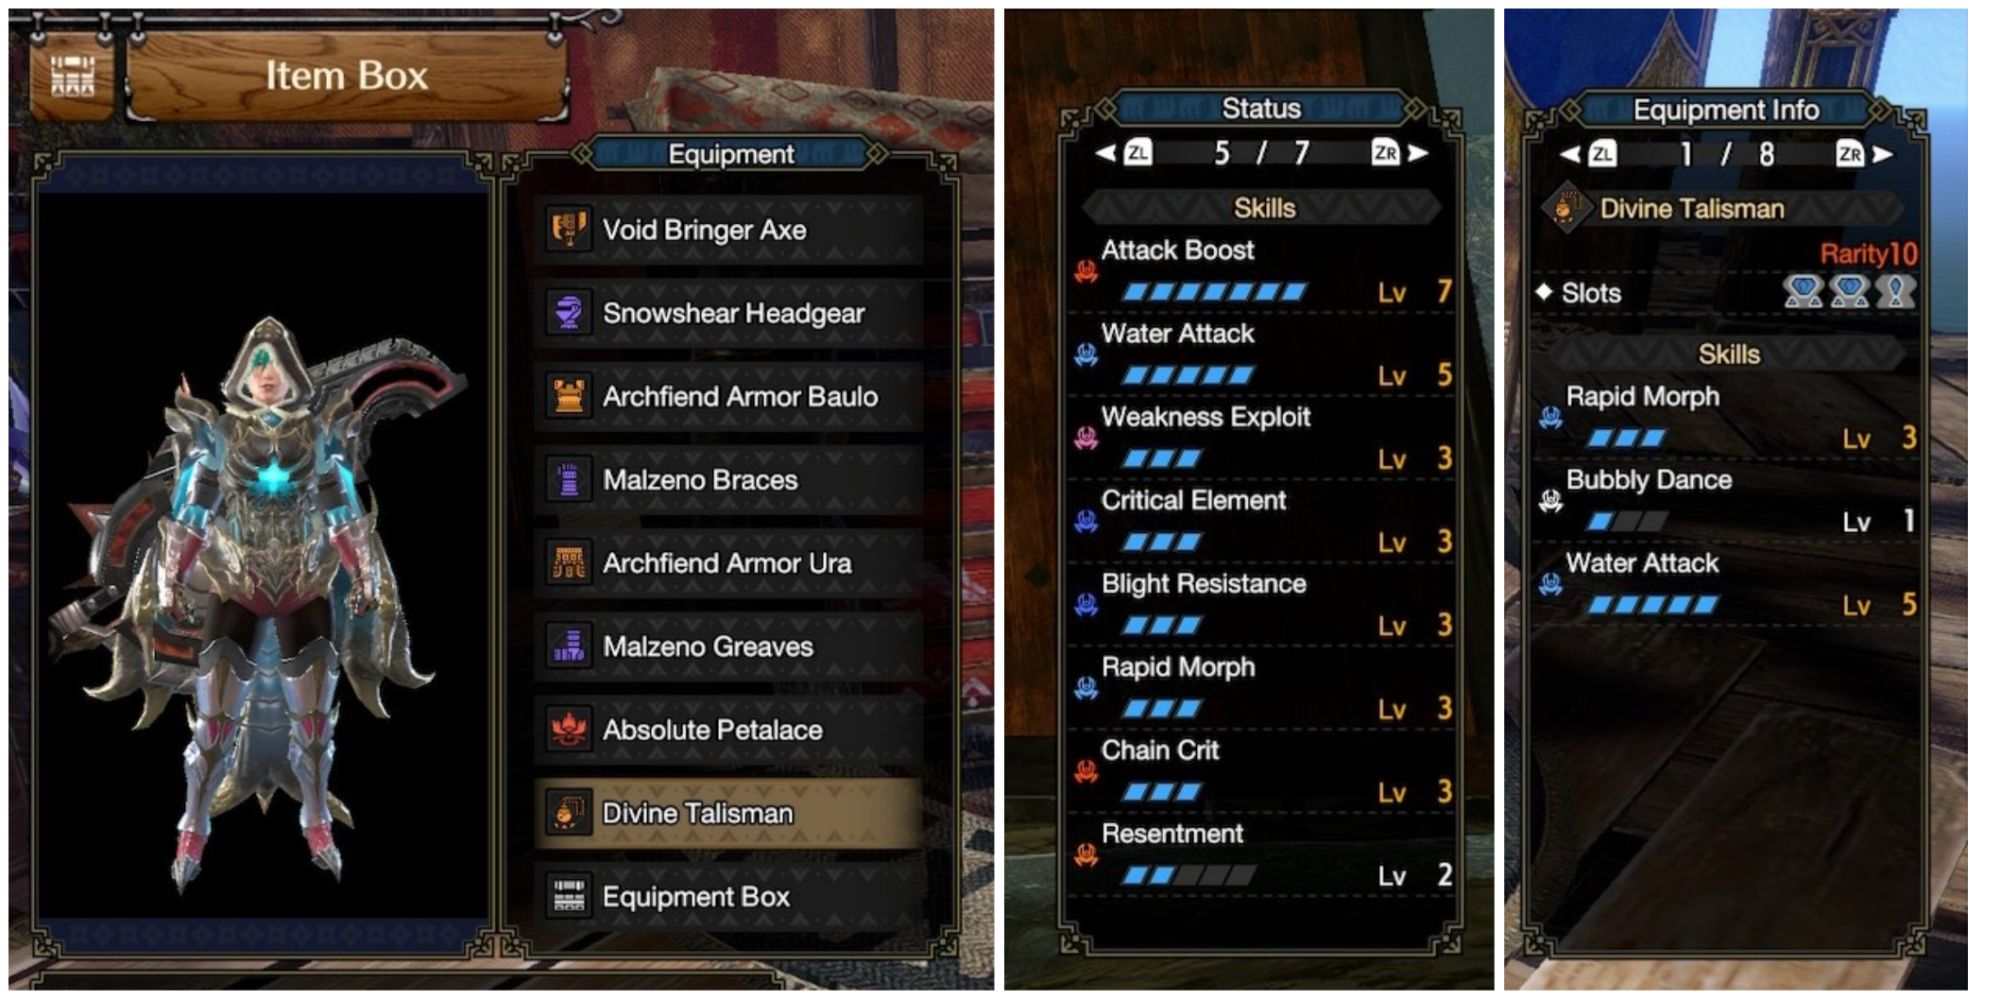
This set combines Kushala Blessing (a skill that allows recovery to exceed red health) and Blood Rite (a skill that heals the player for a percentage of the damage they deal to broken parts). This ensures a constant stream of healing. It also comes with skills like Defense Boost, Divine Blessing, and Recovery Speed to tank attacks from Sunbreak’s most dangerous monsters.
RageGamingVideos recommends either Chameleos or Royal Order as the weapon of choice: Chameleos for poison status to help hunt monsters, or Royal Order for the free 50 defense they provide.
2 Thundering Charge Blade
Weather The Storm With This Charge Blade Build
|
Armor Piece |
Skills Granted |
Materials Needed |
|---|---|---|
|
Narwa’s Pure Helm |
|
|
|
Ibushi’s Pure Breastplate |
|
|
|
Narwa’s Pure Pauldrons |
|
|
|
Ibushi’s Pure Fauld |
|
|
|
Archfiend Armor Sceros |
|
|
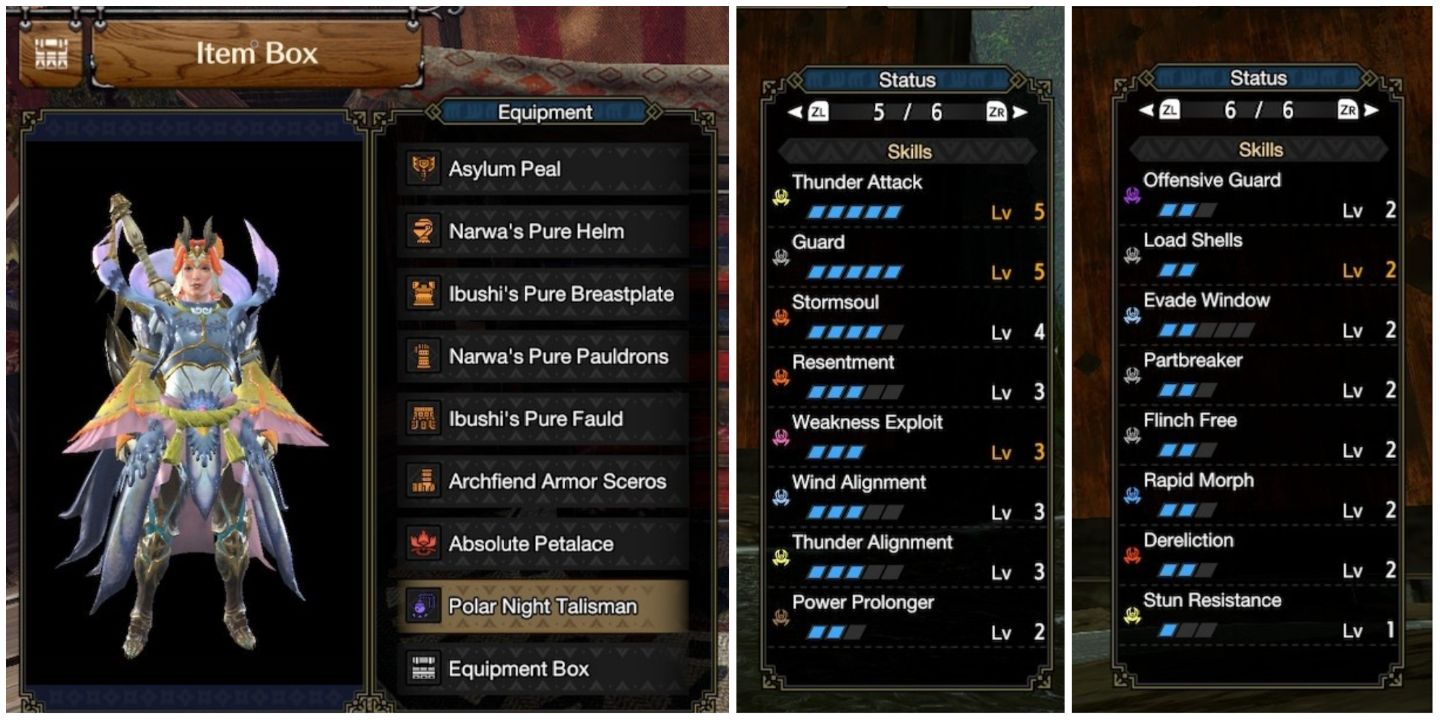
The Charge Blade received much-needed buffs in Sunbreak, bringing it back into the limelight. In particular, Elemental Charge Blade has seen a surge in popularity. This set works with either thunder or dragon, the weapon of choice being Asylum Peal or Draquila Reaver+, respectively, and the only difference being element attack decorations. However, more monsters are weaker to thunder than dragon, so Asylum Peal is generally more useful.
Combining Narwa’s Pure and Ibushi’s Pure to grab Stormsoul gives us a 15% bonus to thunder and dragon element. In addition, Stormsoul level 4 also increases the levels of all other armor skills by 1, which lets us get a plethora of valuable skills (Guard, Guard Up, and Offensive Guard) for free. Finally, adding Archfiend legs provides excellent slots and Dereliction, a skill that massively increases elemental damage while in Red Scroll at the cost of slowly losing health.
1 Strongarm Stance Build
A Simple Mixed Set For Great Sword Lovers
|
Armor Piece |
Skills Granted |
Materials Needed |
|---|---|---|
|
Lunagaron Helm |
|
|
|
Archfiend Armor Baulo |
|
|
|
Barroth Vambraces X |
|
|
|
Squire’s Belt |
|
|
|
Ingot Greaves X |
|
|
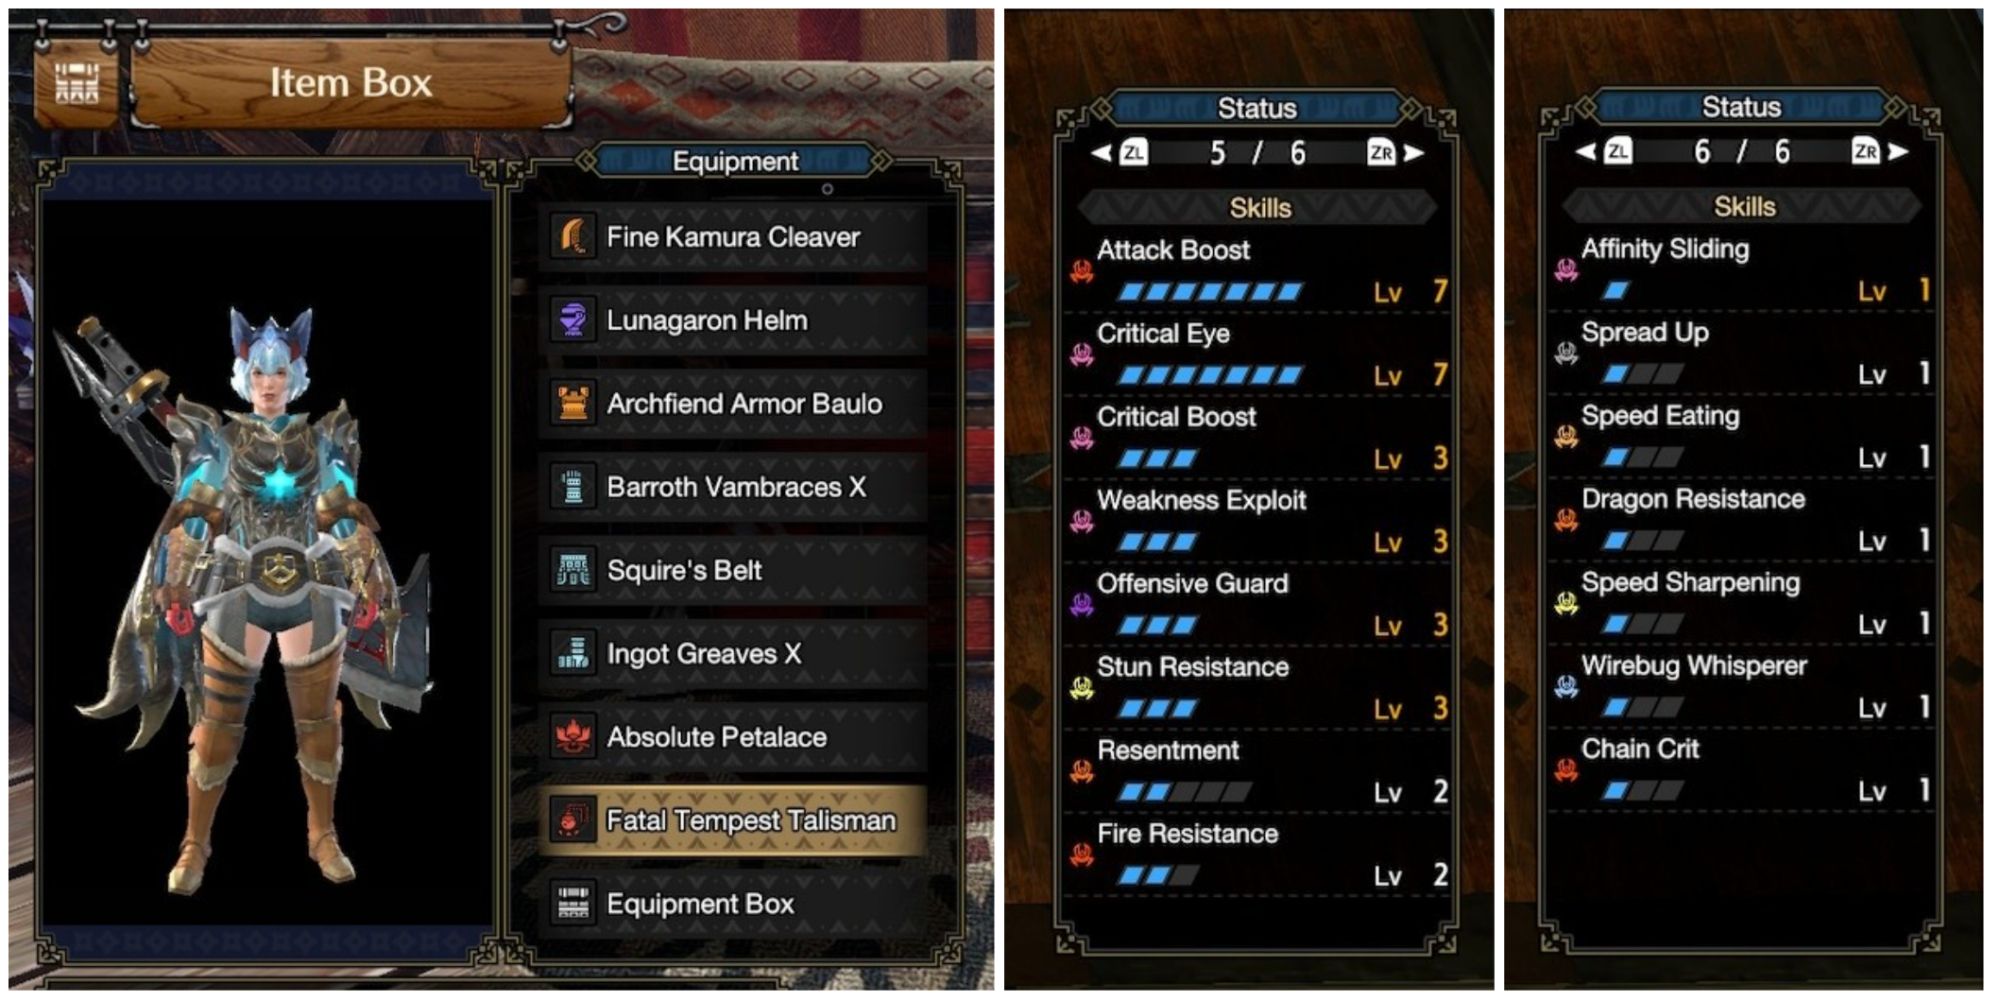
Sometimes, all a hunter needs is to kill a powerful monster as quickly as possible. When that time comes, this mixset is required. Building on the Great Sword’s new Strongarm Stance counter, this mixset pushes for as many offensive skills as possible while throwing defense to the wayside. Newcomers beware, as such an aggressive play style can spell doom for unprepared hunters, not just their prey.
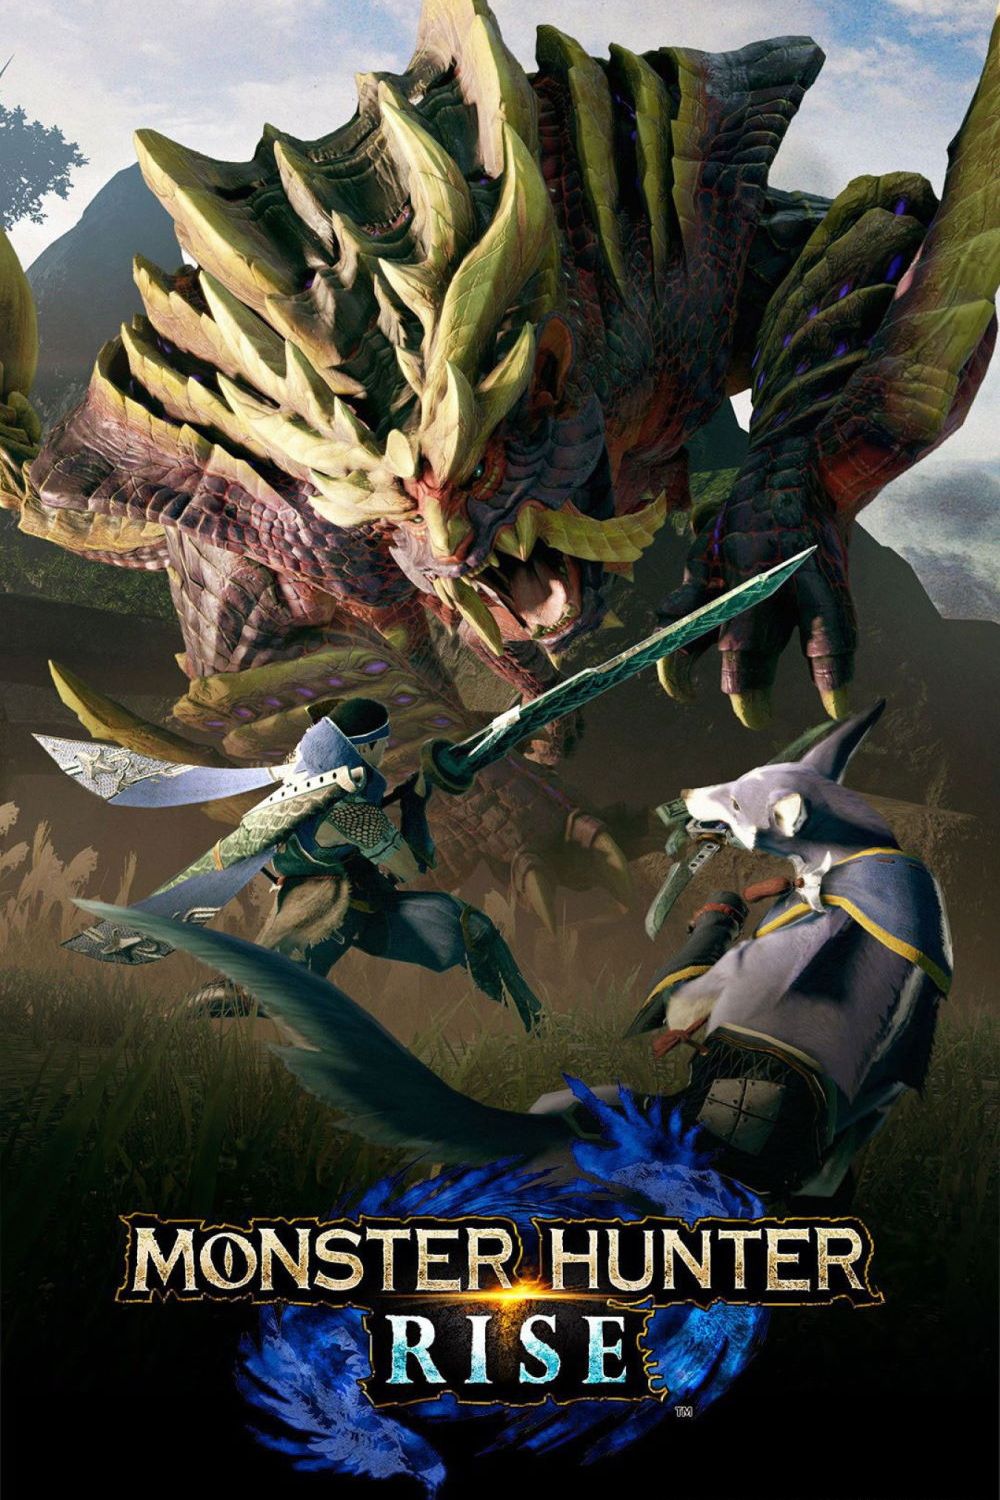
With the right decorations and talismans, this build can reach the maximum level in Critical Eye, Attack Boost, Critical Boost, Weakness Exploit, and Offensive Guard (which procs with Strongarm Stance) while also providing a healthy helping of Resentment and Chain Crit (both of which also proc with Strongarm Stance). When used with the Fine Kamura Cleaver, the best Great Sword available, this comes out to a staggering effective raw of 860.
-
Entertainment4 weeks ago
Here’s what DeepSeek AI does better than OpenAI’s ChatGPT
-
News4 weeks ago
DeepSeek AI gets hit with data privacy red flag by Italy and Ireland
-
Entertainment4 weeks ago
DeepSeek says its newest AI model, Janus-Pro, can outperform OpenAI’s DALL-E
-
Entertainment4 weeks ago
DeepSeek AI: What you need to know about the ChatGPT rival
-
Entertainment4 weeks ago
DeepSeek R1: Why AI experts think it’s so special
-
Entertainment4 weeks ago
iOS 18.3 is here. 3 major changes to know
-
Sports2 weeks ago
Brighton vs. Chelsea 2025 livestream Watch FA Cup for free
-
Entertainment4 weeks ago
Deepseek AI says ‘large-scale, malicious’ cyberattack is limiting registration




.jpg)
