Games
Helldivers 2: All Stratagem Codes

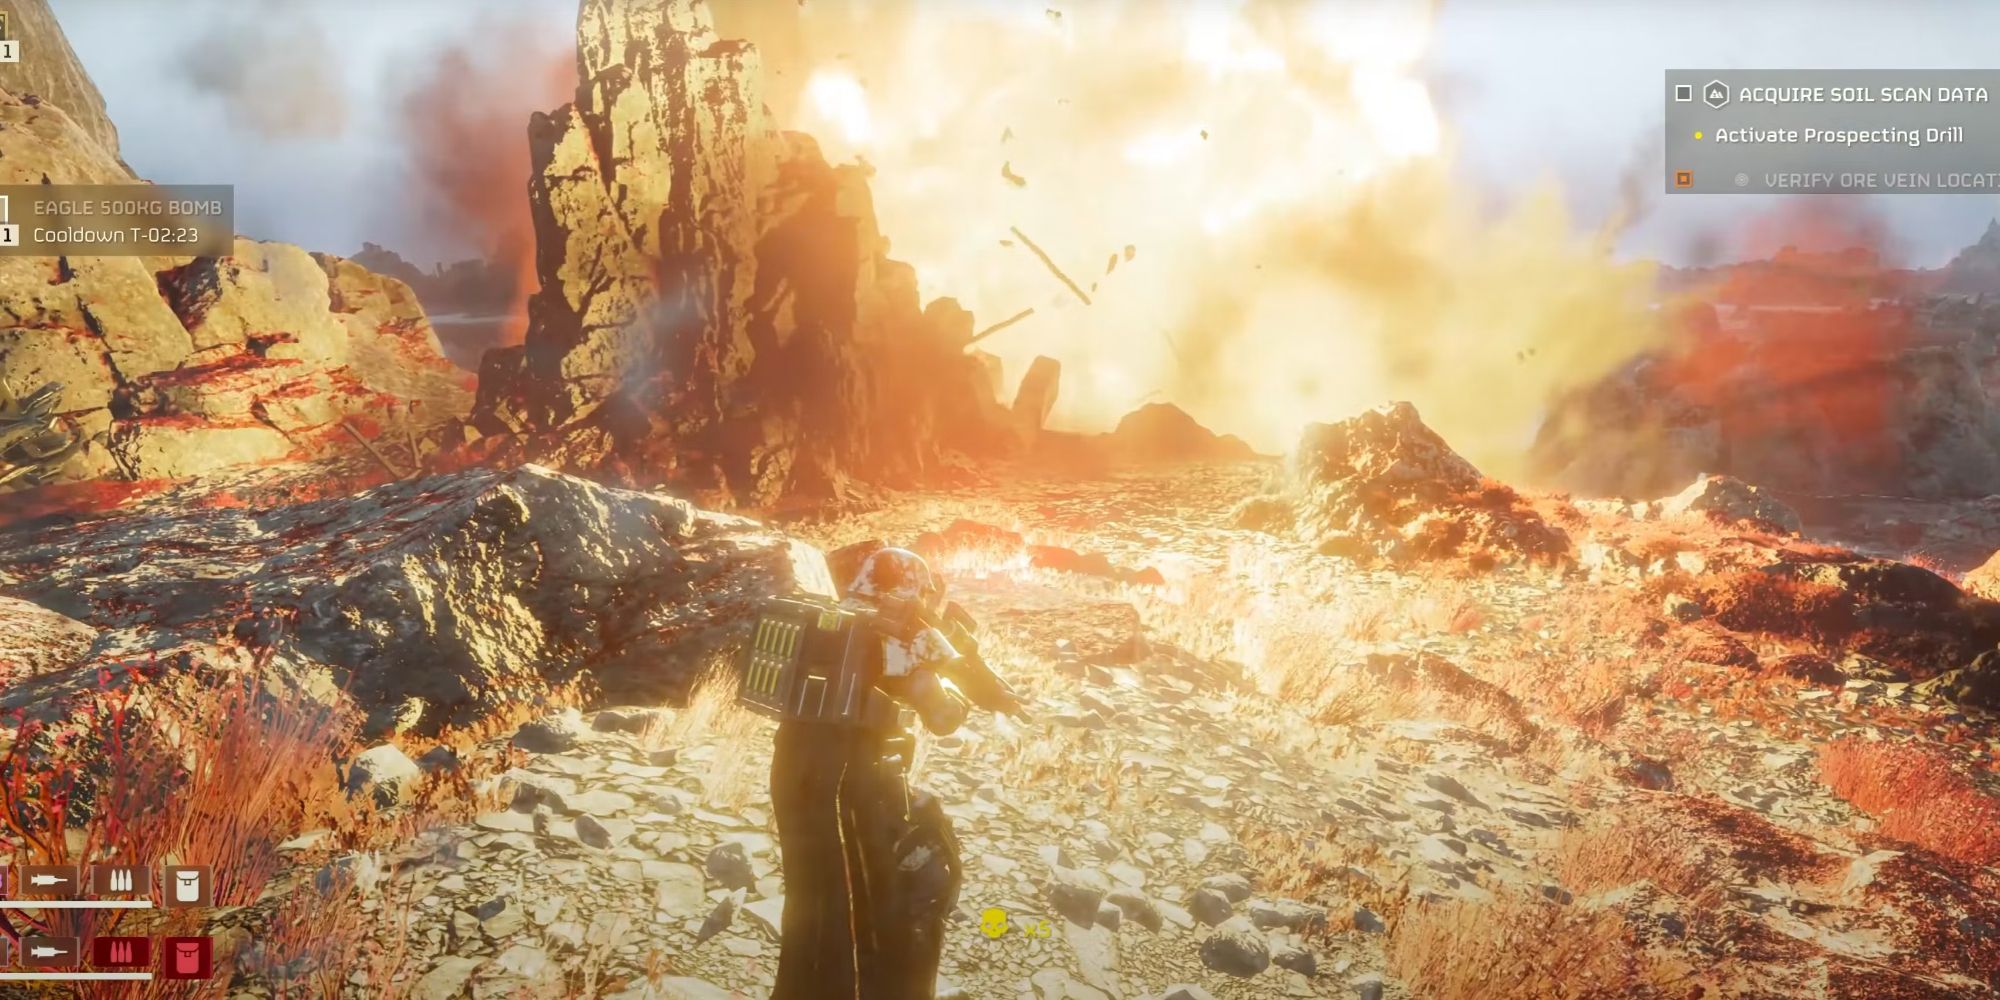
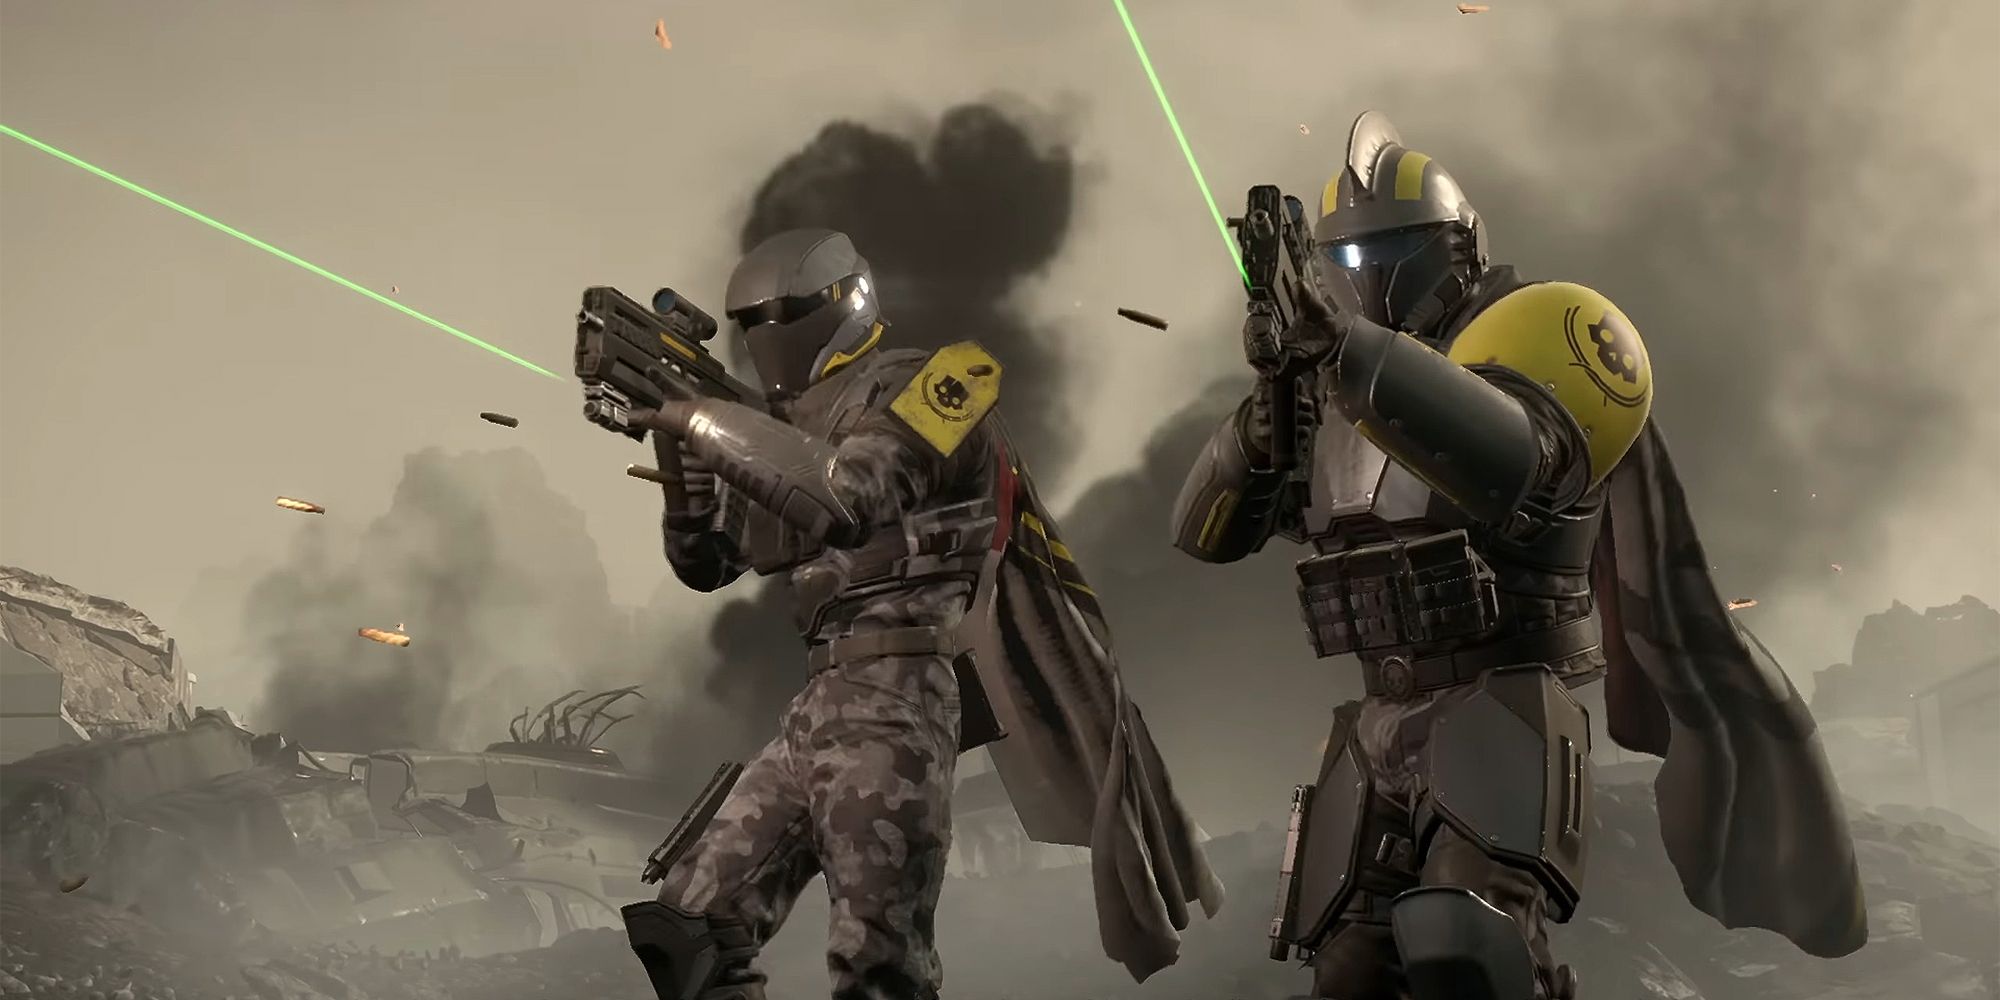
While all players in Helldivers 2 are just ordinary human soldiers, they are far from weak. Apart from being armed with state-of-the-art weaponry, they are also authorized to use stratagems, which make up the brunt of SEAF’s martial prowess.
Stratagems act like abilities in any other game. These are different types of logistics and fire support meant to help players win against impossible odds. Here are input codes for all the stratagems in Helldivers 2 for anyone looking for a point of reference.
Related
Helldivers 2: Is The Urban Legends Warbond Worth Getting?
The Urban Legends Warbond in Helldivers 2 has plenty of fun stuff to offer, though it might not be the most valuable option for new players.
Offensive Stratagems
These are the bread-and-butter stratagems for destroying enemies. They are separated into two categories: Eagle stratagems are delivered via Eagle fighter jets, while Orbitals are shot directly from Super Destroyers.
Eagle
These stratagems have shorter call-in times and significantly shorter cooldowns compared to Orbitals, but they only have limited charges. The Eagle craft delivering the payloads must rearm once all charges have been spent.
|
Eagle Airstrike |
⬆️➡️⬇️➡️ |
|
Eagle Strafing Run |
⬆️➡️➡️ |
|
Eagle Cluster Bomb |
⬆️➡️⬇️⬇️➡️ |
|
Eagle Napalm Airstrike |
⬆️➡️⬇️⬆️ |
|
Eagle Smoke Strike |
⬆️➡️⬆️⬇️ |
|
Eagle 500kg Bomb |
⬆️➡️⬇️⬇️⬇️ |
|
Eagle 110mm Rocket Pods |
⬆️➡️⬆️⬅️ |
Orbital
Orbitals are powerful stratagems shot straight from Super Destroyers. They have moderately long cooldowns, and they take a few seconds to call in. They’re best used for large-scale destruction, precision strikes, and tactical support.
|
Orbital Gatling Barrage |
➡️⬇️⬅️⬆️⬆️ |
|
Orbital 120mm HE Barrage |
➡️➡️⬇️⬅️➡️⬇️ |
|
Orbital 380mm HE Barrage |
➡️⬇️⬆️⬆️⬅️⬇️⬇️ |
|
Orbital Walking Barrage |
➡️⬇️➡️⬇️➡️⬇️ |
|
Orbital Napalm Barrage |
➡️➡️⬇️⬅️➡️⬆️ |
|
Orbital Airburst Strike |
➡️➡️➡️ |
|
Orbital Laser |
➡️⬇️⬆️➡️⬇️ |
|
Orbital Railcannon Strike |
➡️⬆️⬇️⬇️➡️ |
|
Orbital Precision Strike |
➡️➡️⬆️ |
|
Orbital Gas Strike |
➡️➡️⬇️➡️ |
|
Orbital EMS Strike |
➡️➡️⬅️⬇️ |
|
Obrital Smoke Strike |
➡️➡️⬇️⬆️ |
Defensive
These stratagems are designed to hold areas, providing Helldivers with extra means of preventing enemies from swarming them. Despite being static emplacements, they’re great for all missions and objectives in Helldivers 2 if used correctly. Defensive stratagems typically linger for a duration or until they are completely spent.
|
Machine Gun Sentry |
⬇️⬆️➡️➡️⬆️ |
|
Gatling Sentry |
⬇️⬆️➡️⬅️ |
|
Autocannon Sentry |
⬇️⬆️➡️⬆️⬅️⬆️ |
|
Rocket Sentry |
⬇️⬆️➡️➡️⬅️ |
|
Flame Sentry |
⬇️⬆️➡️⬇️⬆️⬆️ |
|
Mortar Sentry |
⬇️⬆️➡️➡️⬇️ |
|
EMS Mortar Sentry |
⬇️⬆️➡️⬇️➡️ |
|
Anti-Tank Mines |
⬇️⬅️⬆️⬆️ |
|
Incendiary Mines |
⬇️⬅️⬅️⬇️ |
|
Anti-Personnel Mines |
⬇️⬅️⬆️➡️ |
|
Tesla Tower |
⬇️⬆️➡️⬆️⬅️➡️ |
|
Shield Generator Relay |
⬇️⬇️⬅️➡️⬅️➡️ |
|
HMG Emplacement |
⬇️⬆️⬅️➡️➡️⬅️ |
|
Anti-Tank Emplacement |
⬇️⬆️⬅️➡️➡️➡️ |
Support Weapons and Equipment
Support Weapons provide Helldiver squads with extreme firepower for dealing with large hordes, heavy units, and even buildings, making them a player’s best friends when it comes to fighting the enemies of Democracy. These can be dropped and shared between players, making it so that everyone can use the best support weapons in Helldivers 2 without necessarily equipping the stratagems needed to request them.
|
MG-43 Machine Gun |
⬇️⬅️⬇️⬆️➡️ |
|
Stalwart |
⬇️⬅️⬇️⬆️⬆️⬅️ |
|
Heavy Machine Gun |
⬇️⬅️⬆️⬇️⬇️ |
|
Laser Cannon |
⬇️⬅️⬇️⬆️⬅️ |
|
EAT |
⬇️⬇️⬅️⬆️➡️ |
|
Recoilless Rifle |
⬇️⬅️➡️➡️⬅️ |
|
Anti-Materiel Rifle |
⬇️⬅️➡️⬆️⬇️ |
|
Commando |
⬇️⬅️⬆️⬇️➡️ |
|
Flamethrower |
⬇️⬅️⬆️⬇️⬆️ |
|
Sterilizer |
⬇️⬅️⬆️⬇️⬅️ |
|
Autocannon |
⬇️⬅️⬇️⬆️⬆️➡️ |
|
Railgun |
⬇️➡️⬇️⬆️⬅️➡️ |
|
Spear |
⬇️⬇️⬆️⬇️⬇️ |
|
Grenade Launcher |
⬇️⬅️⬆️⬅️⬇️ |
|
Quasar Cannon |
⬇️⬇️⬆️⬅️➡️ |
|
Airburst Rocket Launcher |
⬇️⬆️⬆️⬅️➡️ |
|
Arc Thrower |
⬇️➡️⬇️⬆️⬅️⬅️ |
|
Patriot Exosuit |
⬅️⬇️➡️⬆️⬅️⬇️⬇️ |
|
Emancipator Exosuit |
⬅️⬇️➡️⬆️⬅️⬇️⬆️ |
|
Supply Pack |
⬇️⬅️⬇️⬆️⬆️⬇️ |
|
Jump Pack |
⬇️⬆️⬆️⬇️⬆️ |
|
Ballistic Shield |
⬇️⬅️⬇️⬇️⬆️⬅️ |
|
Directional Shield |
⬇️⬆️⬅️➡️⬆️⬆️ |
|
Shield Generator Pack |
⬇️⬆️⬅️➡️⬅️➡️ |
|
AR-23 Guard Dog |
⬇️⬆️⬅️⬆️➡️⬇️ |
|
LAS-5 Guard Dog |
⬇️⬆️⬅️⬆️➡️➡️ |
|
TX-13 Guard Dog |
⬇️⬆️⬅️⬆️➡️⬆️ |
Mission Stratagems
Mission stratagems don’t take up any stratagem slots, and apart from Reinforce, SOS, and Resupply, they only become available when a relevant objective is nearby.
|
Reinforce |
⬆️⬇️➡️⬅️⬆️ |
|
SOS Beacon |
⬆️⬇️➡️⬆️ |
|
Resupply |
⬇️⬇️➡️⬆️ |
|
SEAF Artillery |
➡️⬆️⬆️⬇️ |
|
Super Earth Flag |
⬇️⬆️⬇️⬆️ |
|
Eagle Rearm |
⬆️⬆️⬅️⬆️➡️ |
|
Upload Data |
⬅️➡️⬆️⬆️⬆️ |
|
Seismic Probe |
⬆️⬆️⬅️➡️⬇️⬇️ |
|
SSSD Delivery |
⬇️⬇️⬇️⬆️⬆️ |
|
Hellbomb |
⬇️⬆️⬅️⬇️⬆️➡️⬇️⬆️ |
-

 Entertainment3 weeks ago
CES 2025: Exhibitors, dates, ticket prices, and everything else you must know
-

 Entertainment2 weeks ago
CES 2025: The Electric Salt Spoon is the weirdest thing at CES
-

 Games3 weeks ago
Marvel Rivals Player Pulls Off Ridiculous Winter Soldier Play
-

 Entertainment2 weeks ago
CES 2025: Anker’s solar beach umbrella is a must have for the ultimate geek summer
-

 Movies4 weeks ago
The Great Craft of 2024 | Features
-

 Games3 weeks ago
Hilarious Red Dead Redemption 2 Compilation Highlights Inexperienced Gamer's First Few Hours
-

 Entertainment3 weeks ago
Apple, Tesla, Spotify: The tech announcements that never happened in 2024
-

 Movies4 weeks ago
Sony’s “Frank Capra at Columbia” 4K Box Set Encapsulates One of America’s Great Filmmakers | TV/Streaming


